Magic Circle or Ring Crochet Rounds
There are many methods to start a hat or any item in the round. My favorite way and the way that I believe gives the most professional finished look is the magic circle or ring. You can watch my video tutorial here…
Check out my other tutorials HERE
You can also find all my free crochet patterns HERE
Picture Tutorial

pick up the yarn, hold the short end in the palm of your hand, leaving approximately 6″, leave the long working tail over the back of your hand

wrap the long working tail under the bottom of your hand to the top and grip the place where it intersects with your thumb and forefinger
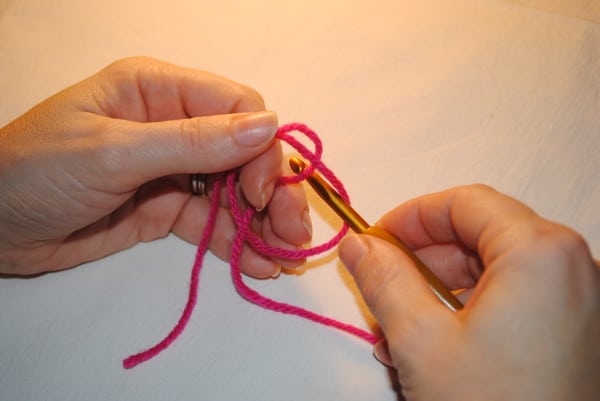
place your hook in the resulting circle and pick up the strand of yarn from the long working tail
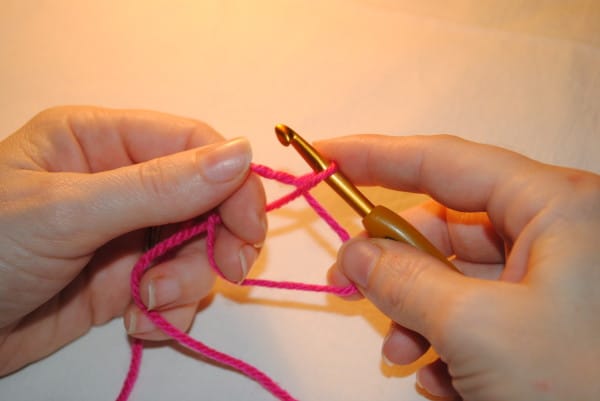
pull up and make a loop
yarn over and crochet a slip stitch (this will NOT count as any stitches in your pattern)

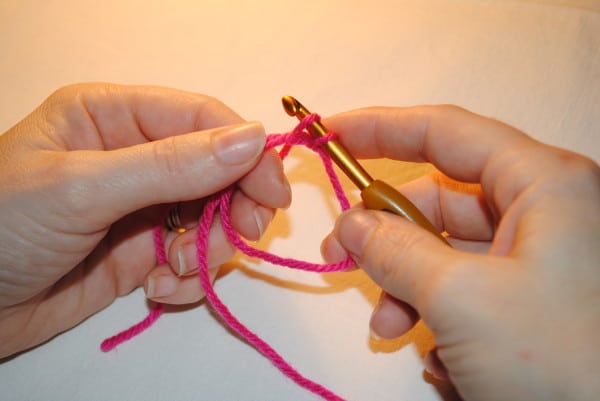
this is what it will look like after you complete your slip stitch

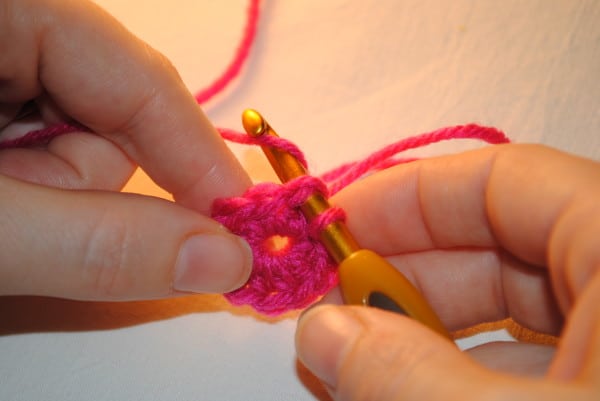
begin to crochet around the circle, using the circle like you would any stitch
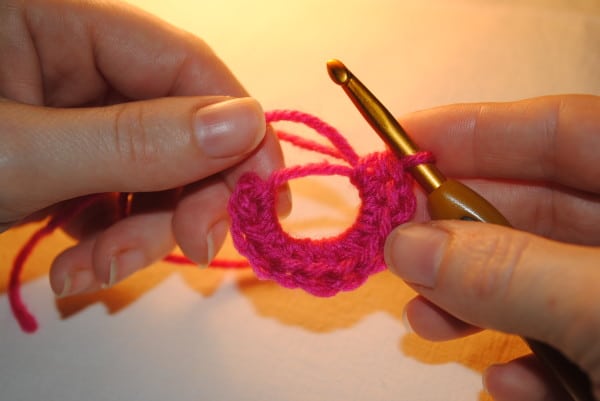
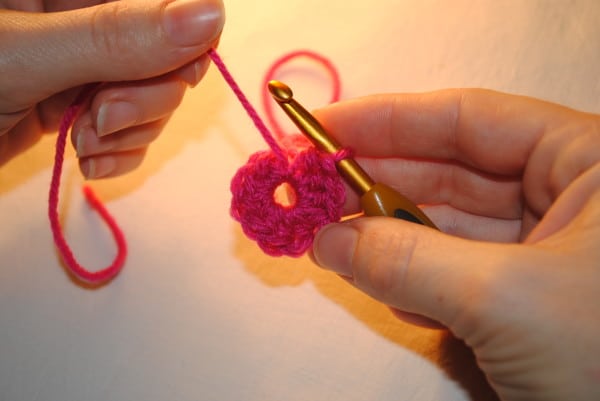
once you have completed your stitches, pull the short tail to close the circle
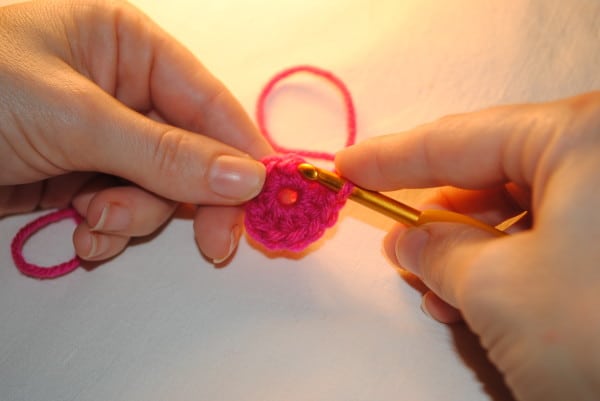
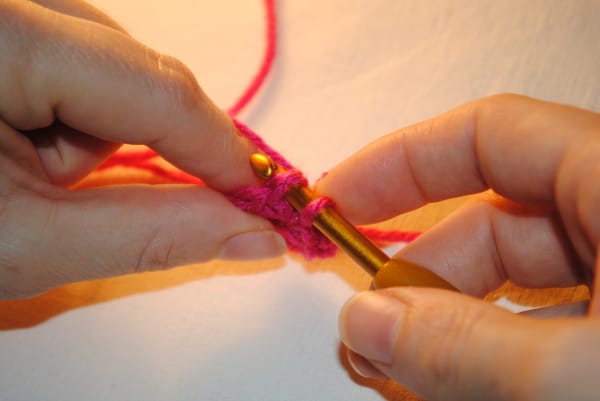
slip stitch into the top of the first stitch in the magic ring (not the original slip stitch)

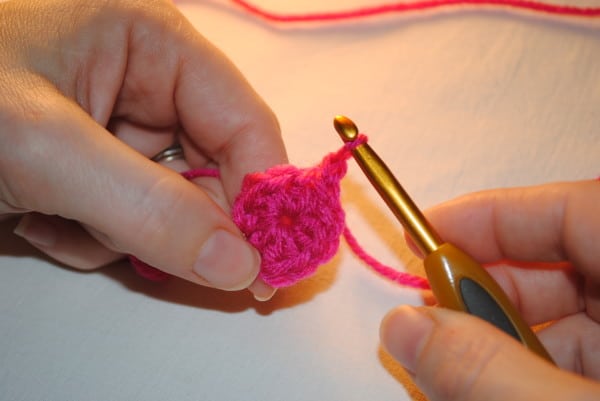
and now you have completed your magic circle or ring. You can make the center hole smaller by pulling the short tail taut. Stitch tail into finished item to secure tight.
For a professional look all the way throughout your hat check out my tutorials on seamless rounds.
You can also find other crochet tutorials here –> Tutorials on Cre8tion Crochet
I hope you enjoyed these picture and video tutorials on how to crochet a magic circle or ring. If you have any questions or comments please comment below or email me at [email protected] and I will get back to you soon.
Have fun and as always…
Happy Hookin’


