Vintage Sweet
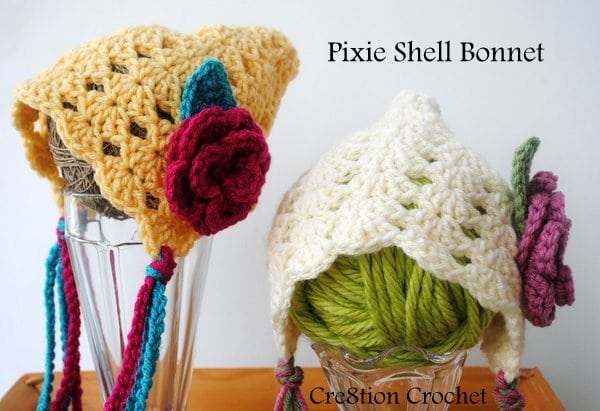
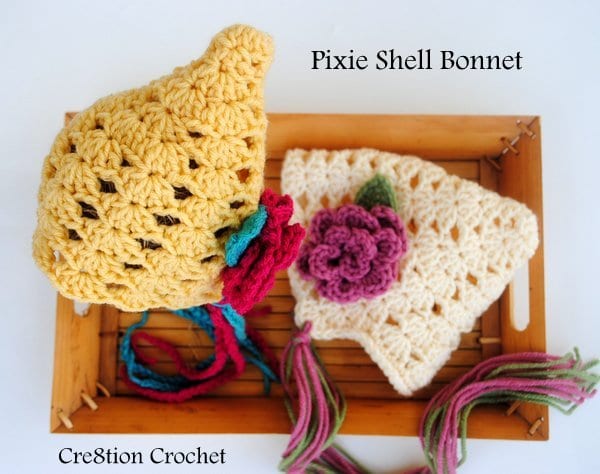
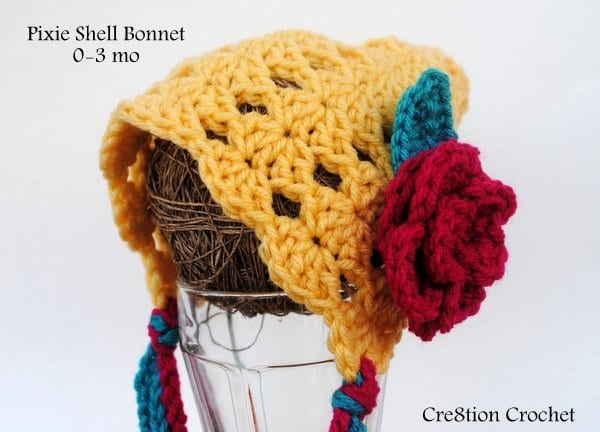
Pixie Shell Bonnet 0-3 months
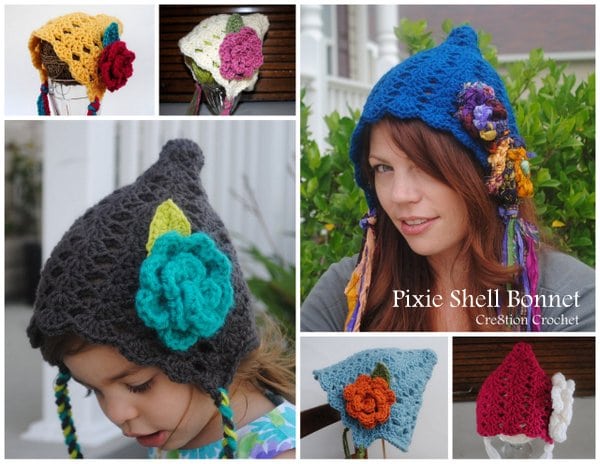
The other day I just picked up some yarn and started playing around. I wanted to figure out a way to increase shells in the round. My first effort produced too small of a start but I decided to keep going with it, just to practice and as I was stitching I realized that this was turning out to be a really cute design. I decided to turn it into a pixie style bonnet.
model shown crocheted by Bev of Cozy Cactus Creations
I am in love with the vintage look of this bonnet. The Pixie shell bonnet comes in multiple sizes. This size is available for FREE, the other 5 sizes are available for purchase on my Ravelry Store.
Finished Size:
Newborn- 13 ½”
Washing Instructions:
Hand wash warm/cool only- due to ties and flowers
Time Involved:
30-60 mins depending on size
Recommended Retail Price:
$25-30
Pattern Notes:
Unless otherwise noted
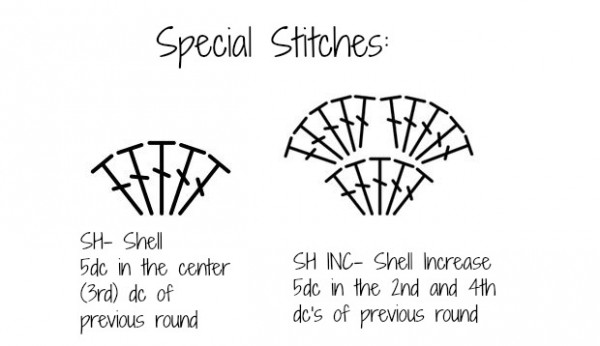
- See Diagram
- 1st shell in every round is made up of [ch3. 4dc].
- Sl st into the top of the ch3 to join every round
- To begin next shell row- sl st into the dc place required to begin next shell
- Shells will be stitched into the 3rd (center) dc of the previous shell
- Shell Increases will be stitched into the 2nd and 4th dc’s of previous shell
- The flowers I used for this pattern were adaptations from this video tutorial
- The leaves are the large fat bottom leaves from Leaves 101
Gauge- not extremely important in this pattern if using worsted weight yarn and 5.5mm (I) hook. If using different yarn follow gauge pattern.
Gauge pattern– made in round= 5”
First dc of each round is made as a Ch3
1. Magic Circle/ Ring. Ch3 and 11dc into ring. <12>
2. 2dc in every st around <24>
3. 1dc in next st. 2dc in next st around <36>
Materials:
worsted weight yarn in your choice of colors (1/4-1/2 skein depending on size) I used Red Heart Super Saver
5.5mm (I) hook
Embroidery needle
finished flower and leave (patterns used in notes section)
Abbreviations and Stitches Used:
mc/r– magic circle/ring (watch this video tutorial)
Instructions:
1. Magic Circle/Ring. Ch3. 11dc. <12>
2. [Ch3. 2dc] in same st. * skip 2 sts. 3dc in the next st. Repeat from * to end – (4) 3dc clusters
3. Beginning in center (2nd dc) of 3dc cluster; SH in each 3dc cluster- 4 shells
4. [SH in next shell. SH INC in next shell] 2x – 6 shells
5. SH in every shell – 6 shells
6. [SH in the next shell. INC SH in each of the next 2 shells] 2x – 10 shells
7. SH in every shell – 10 shells
8. SH in every shell – 10 shells
For rest of pattern, you will no longer be working shells into each shell, you are creating the back of the bonnet, that is made up of simple sts, rather than shells.
9. 1hdc in next st. SH in each of the next 7 shells. 1hdc in next st. 1sc in each remaining st. sl st to first hdc to join. – 7 shells
10. 1sc in next st. 1hdc in next st. SH in each of the next 7 shells. 1hdc in the next st. 1sc in each remaining st. sl st to first sc to join. – 7 shells
11. 1sl st in next st. 1sc in next st. 1hdc in next st. [2dc. Ch1. 3dc] in center st of next shell. SH in each of the next 5 shells. [3dc. Ch1. 2dc] in center st of next shell. 1hdc in the next st. 1sc in the next st. 1sl st in each remaining st. fasten off.
12. Finish off with flower of choice. Flower and leave pattern can be found in notes section
13. Add ties of choice in Ch1 sps.
- For chain ties: Ch80 four times. Pull 2 chains through either ch1 sp and tie in knot.
- For string ties: Cut 16 lengths of yarn 25” long. Pull 8 strands through either ch1 sp and tie in knot. Cut even.
I hope you enjoyed this 0-3mo Shell Pixie Bonnet free crochet pattern. Sizes 6 month, 12 month, toddler, child, and adult are available in my Ravelry store.

You may also enjoy these other free patterns great for photo props
If you liked this pattern, please share it. Your continued support allows me to bring you more free crochet patterns and business tutorials.
Have fun and as always…
happy hookin’

