Free Spring Crochet Flower Pattern
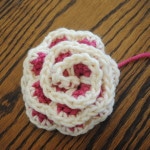
Spring Blossom
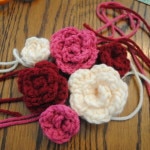
I created this open Rose Spring flower applique as an embellishment to my Red Heart Spring Blossom Cloche. This is a simple and sweet spring flower that would look great on any hat or even as a pin. Can be made two toned/lined as shown or in one color. The possibilities are endless.
Abbreviations and Stitches used:
st– stitch
sp– space
sl st– slip stitch
insert hook, yarn over, pull through, (two loops on hook), pull loop closest to hook through other loop
ch– chain
sc– single crochet
insert hook, yarn over, pull through (two loops on hook), yarn over, pull through both loops
hdc– half double crochet
yarn over, insert hook, yarn over, pull through (three loops on hook), yarn over, pull through all three loops
Materials:
Red Heart yarn in your choice of colors
5.0 mm hook (you can use any size hook, as different sizes will produce different results)
embroidery needle
Notes:
Keep in mind that different colors are slightly different in thickness and will produce different results, if you want a really tiny flower use a light color (which tends to be thinner) and as small hook, 4.0mm works well.
The final look will also be determined by how tightly or loosely you wind up the flower and secure.
Pattern:
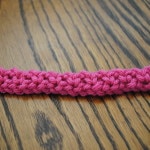
- Leave a 24” in tail to start. Chain 37
- Skip first space and sc into 2nd sp from hook, ch 1 (skipping next sp) and sc into next space. Repeat till end. This will give you 18 “holes” or spaces.
- Into first space stitch 4sc and 1sl st. Repeat in next 3 spaces (this will give you 4 sc petals)
- Into each of the next 4 spaces, stitch 4hdc and 1sl st (giving you 4 hdc petals)
- Into each of the next 10 spaces, stitch 4dc and 1sl st (giving you 10 dc petals)
- Into the last space stitch 1dc, 2hdc, 1sc and 1sl st. Change color to border on the sl st.
- Tie ends together securely.
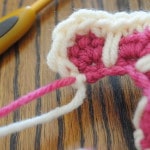
- Sc into the next 5 spaces (the sl st, 1sc, 2hdc and dc stitches). On the next stitch you will sc into the sc space on first row (giving you a “long” sc stitch)
- Sc along the top of each petal (4sc per petal) and 1 long sc in between each petal (into the sc space of first row).
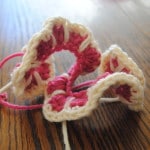
- For the last petal, do the 4sc as previously done and sl st into the bottom of petal to finish. Tie ends of border color to the long tail of flower color to secure. Leave all tails, you will take care of them at the end.
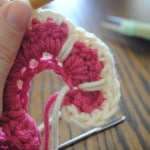
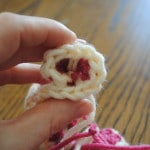
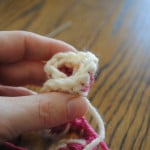
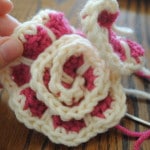
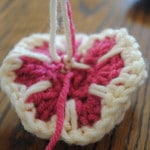
- Weave long tail through embroidery needle and begin to wind flower up. Start with first three petals and then secure them by stitching together the bottom/underside of flower. Continue to wind up, stitching as you go. Be sure to pay attention to what it will look like before you place your stitches on the underside to secure.
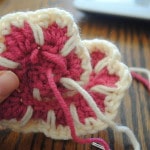
- Secure with knot when done and leave tails to secure to finished piece. I use both tails to secure and time them together and then use the long tail to tack the rosette into place. Weave in ends and cut short when done.


You may also enjoy the Rosette patterns as well
This pattern is also available as a PDF for the cost of $2. This fee is to offset revenue lost when the pattern is printed and a visit to this site is not required. Click HERE to go to Ravelry.


