Free Spring Crochet Patterns
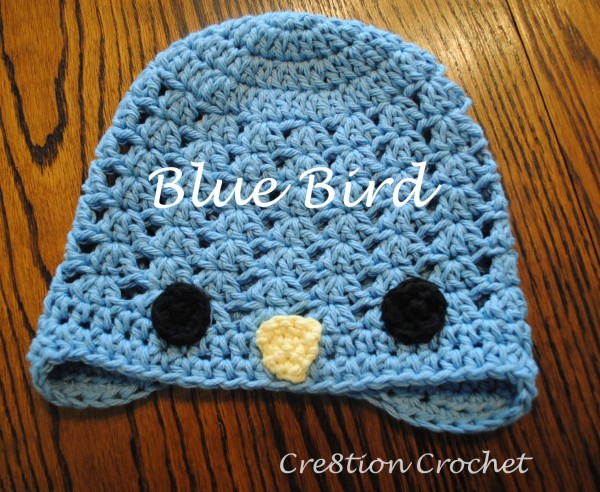
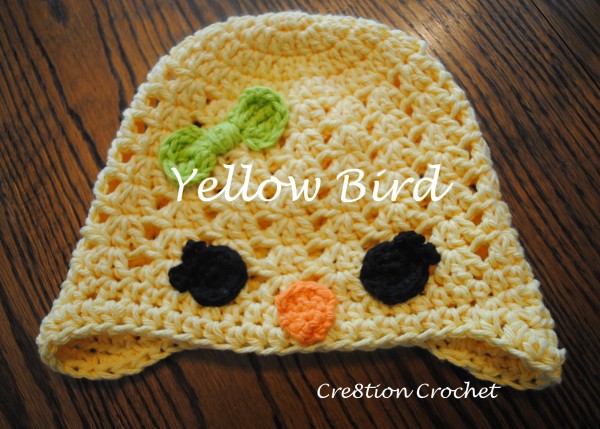
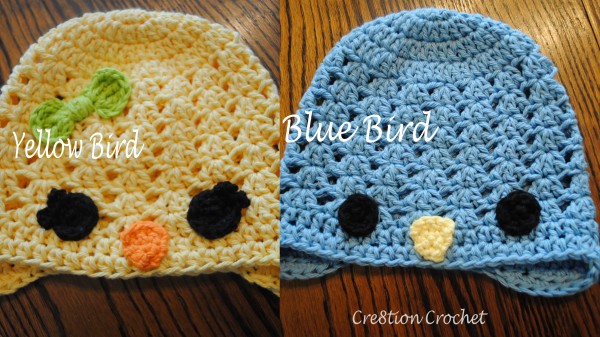
Yellow Bird, Blue Bird
This hat is worked seamlessly, the instructions for my seamless method are written out but can also be found here. This hat is the perfect adornment for those brisk but sunny Spring days. Made with 100% cotton, it will keep your little one cozy without making them too hot.
This pattern is written in toddler size but can easily be made into any size. This tutorial on designing your own custom crochet hat will help you with making this hat, and all others, in any size. Just keep in mind that your increasing rounds must end in increments of 3. Adjust height according to the dimensions in this tutorial.
36-39 st for baby 3-6mo
42-45 st for baby 6-12mo
48-51 st for toddler (this hat is written in 45st)
54-57 for child
60-63 for adult
Abbreviations and Stitches used:
st– stitch
sp– space
mc/r- magic circle/ring
sl st– slip stitch
insert hook, yarn over, pull through, (two loops on hook), pull loop closest to hook through other loop
ch– chain
sc– single crochet
insert hook, yarn over, pull through (two loops on hook), yarn over, pull through both loops
hdc– half double crochet
yarn over, insert hook, yarn over, pull through (three loops on hook), yarn over, pull through all three loops
dc– double crochet
yarn over, insert hook, yarn over, pull through (three loops on hook), yarn over, pull through first two loops on hook, yarn over and pull through last two loops
Increase– two of designated stitch in same space
Materials:
5.0mm hook for hat
4.0mm hook for appliques
100% cotton yarn (I used Peaches N’ Cream)
embroidery needle
Pattern:
- Mc/r with 12dc, join round with sl st
- ch 1, skip first sp, 2dc in next sp and all additional spaces around, last 2dc will be placed in the “empty” space (after ch1). sl st into top of next dc to join round <24>
- ch1, skip first sp, dc around, increasing in every other sp, last 2dc will be placed in the “empty” sp. sl st into the top of the next dc to join round <36>
- ch1, skip first sp, dc around, increasing in every 3rd sp, last 2dc will be placed in the “empty” sp. sl st into the top of the next dc to join round<48>
- ch 2, 2dc into same sp, *skip 2sp, 3dc into next sp. Repeat from * around. sl st into the top of the ch2 to join round <16 clusters of 3dc)
- sl st into next space, ch 2, 2dc into same space, *skip 2sp, 3dc into next sp. Repeat from * around. sl st into the top of the ch2 to join round <16 clusters of 3dc)
- sl st into next space, ch 2, 2dc into same space, *skip 2sp, 3dc into next sp. Repeat from * around. sl st into the top of the ch2 to join round <16 clusters of 3dc)
- sl st into next space, ch 2, 2dc into same space, *skip 2sp, 3dc into next sp. Repeat from * around. sl st into the top of the ch2 to join round <16 clusters of 3dc)
- sl st into next space, ch 2, 2dc into same space, *skip 2sp, 3dc into next sp. Repeat from * around. sl st into the top of the ch2 to join round <16 clusters of 3dc)
- sl st into next space, ch 2, 2dc into same space, *skip 2sp, 3dc into next sp. Repeat from * around. sl st into the top of the ch2 to join round <16 clusters of 3dc)
- sl st into next space, ch 2, 2dc into same space, *skip 2sp, 3dc into next sp. Repeat from * around. sl st into the top of the ch2 to join round <16 clusters of 3dc)
- ch 1, skip 1st sp, hdc into next sp, hdc around, last hdc will be placed in “empty” sp. sl st into top of next hdc to join round <48>
- this step will be making the 1st ear flap-
- 1sc in next sp, 1hdc in each of next 6sp, 1sc in next, turn.
- 1sl st into 1st sp, 1sc in next sp, 1hdc in each of next 5sp, 1sc in next, turn.
- 1sl st into 1st sp, 1sc in next sp, 1hdc in each of next 4sp, 1sc in next. Fasten off but no need to weave in tail, you will stitch over it in the next step
- this step will be making the 2nd ear flap-
- count 22 stitches from the end of 1st ear flap. Insert hook into the 23rd sp and repeat the instructions for the 1st ear flap, but do not fasten off when done. hdc into the next space and all the way around the edge of the hat to finish. sl st into the 1st hdc to join round.
- Add braided ties if desired (instructions for braided ties can be found in my Winky Winky the Owl hat pattern)
Appliques
all appliques are made with a 4.00mm hook and peaches n cream or sugar n cream 100% cotton
there are two options for eyes… one for the girl version and one for the boy version.
Boy Eyes
- Mc/r with 5sc
- 2sc in every sp around, join with sl st <10>
- fasten off, leaving tail approx 10″ long and weave tail through to the back, pull center tail tight and tie both tails together to secure.
- repeat for 2nd eye
- secure eyes onto hat
Girl Eyes
- Mc/r with 5sc
- 2sc in every sp around, join with sl st <10>
- ch4 and sl st into same sp, sl st into next sp. ch4 and sl st into same sp.
- fasten off, leaving tail approx 10″ long and weave tail through to the back, pull center tail tight and tie both tails together to secure.
- repeat for 2nd eye
- secure eyes onto hat
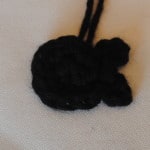
Beak
- ch 2
- 5sc in 1st ch
- turn entire piece over and sc across, 1sc in 1st sp, 2sc in 2nd sp, 1sc in 3rd sp <4>
- turn and sc across <4>
- turn and sc across>
- fasten off leaving approx 10″ tail
- secure beak onto hat
Girls Bow
- ch5
- 3tc into the 1st ch
- ch4 and sl st into 1st ch
- repeat above steps
- fasten off leaving 18″ tail
- weave tail around center of bow and fasten off, knot in back
- secure onto hat
I hope you enjoyed these free spring crochet patterns; Yellow Bird, Blue Bird. There are lots of other Free Crochet Spring Patterns on the site. If you like what you see, please share and…
Happy ‘Spring time’ Hookin’
You may also like Winky Winky the Owl or Sleepy the Little Owl
