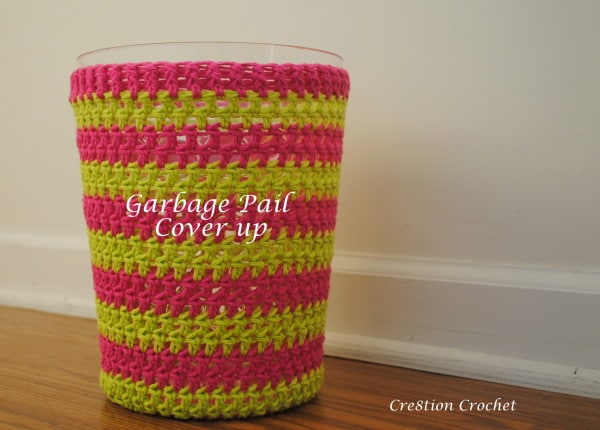
Dress Up That Garbage Can with Crochet
My house is so sad.
We moved into a new house about 6 months ago. Unfortunately the move was right after the very tragic passing of my mother who was my best friend. Almost everything we own in the way of decoration was either thrown out during the move or is still packed away. I hadn’t had the motivation to do much in the way of decorating until recently. Because I had been feeling so down I have made the decision to do my house in bright, bold colors. I want to be cheered every day from all the beauty of these colors.
I decided to go room to room and get it organized and decorated as I go. The first room on my list is my kids bathroom. My son’s room will be primarily lime green and my daughters room will be many bright colors but hot pink will be one of the most abundant. I wanted the bathroom to be a little bit for each of them so I have decided to do their bathroom in lime green and hot pink.
I have many plans for this bathroom in the way of hand crafted, but the first thing I have designed for the bathroom is this garbage pail cover up.
Materials:
Cheap dollar store garbage can (bottom measures 6” in diameter. 10” tall)
6.5mm hook
2 tapestry needle
Worsted weight cotton yarn- I used Peaches N Cream- ½ skein of each
Abbreviations and Stitches used:
st– stitch
sp– space
mc/r– magic circle/ring
sl st– slip stitch
insert hook into stitch or space, yarn over and pull through stitch, (two loops on hook), pull loop closest to hook through other loop
ch- chain
hdc– half double crochet
yarn over, insert hook into stitch or space, yarn over and pull through stitch (three loops on hook), yarn over, pull through all three loops
dc– double crochet
yarn over, insert hook into stitch or space, yarn over and pull through stitch (three loops on hook), yarn over, pull through first two loops on hook, yarn over and pull through last two loops
dc2tog– double crochet two together (decrease)
yarn over, insert hook into 1st st, yarn over and pull through st, (three loops on hook), insert hook in next st, yarn over, pull through, (four loops on hook), yarn over, pull through first two loops on hook, yarn over again and pull through last two loops on hook
fphdc– front post half double crochet
{same as hdc, except instead of inserting hook into the st, you will insert it behind the post} yarn over, insert hook behind post (insert hook before post and go behind the post, come back out on other side of post, in the front), yarn over and pull through stitch (three loops on hook), yarn over, pull through all three loops
Notes:
-I recommend tying the tails of CA and CB together at each color change
-To modify this pattern to any size garbage can simply make the first (increasing) rounds to the correct size to completely cover bottom of can. Decrease enough stiches to make the cover snug to the can for the next row and then complete cover in that many stitches. Crochet to any desired height.
-You can also weave in elastic along the last dc round to keep cover snug to can if necessary.
Instructions:
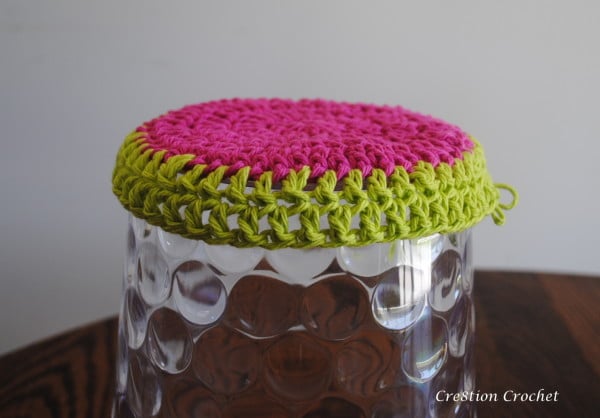
1. Starting with CA. Mc/r with 12dc. Sl st into top of 1st dc to join round
2. Ch2. Skip 1st st. 2dc in next st and every st around, last two dc will be placed in the st previously left empty. Sl st into top of 1st dc to join round. <24>
3. Ch2. Skip 1st st. *2 in next st. 1dc in next st. Repeat from * around. Last dc will be placed in the st previously left empty. Sl st into the top of the 1st dc to join round. <36>
4. Ch2. Skip 1st st. *2 in next st. 1dc in next st. 1dc in next st. Repeat from * around. Last dc will be placed in the st previously left empty. Sl st into the top of the 1st dc to join round. <48> (should measure 6”) (or increase to the size required to fit the entire bottom of your garbage pail)

5. Change to CB. Ch2. Skip 1st st. *dc2tog in next st. 1 dc in each of the next 4sts. Repeat from * around. Sl st into the top of the first dc2tog to join round. <40>
6. 1dc in every st around. <40>
7. Change to CA. Repeat round 6 two times.
8. Change to CB. Repeat round 6 two times.
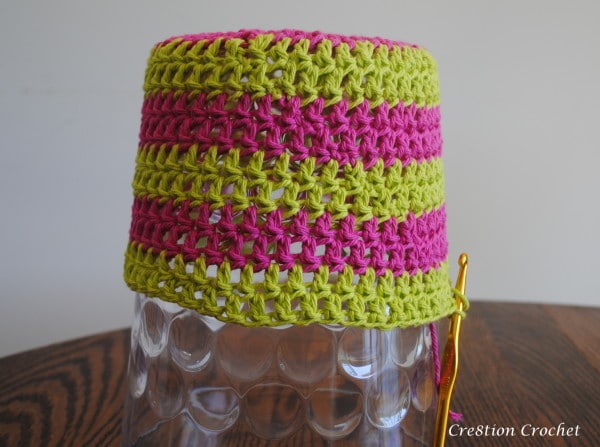
9. Repeat round 7 & 8 three more times.
10. Change back to CA. 1hdc in every st around. <40>
11. 1fphdc in every st around. <40>

12. Finish off and weave in all ends.
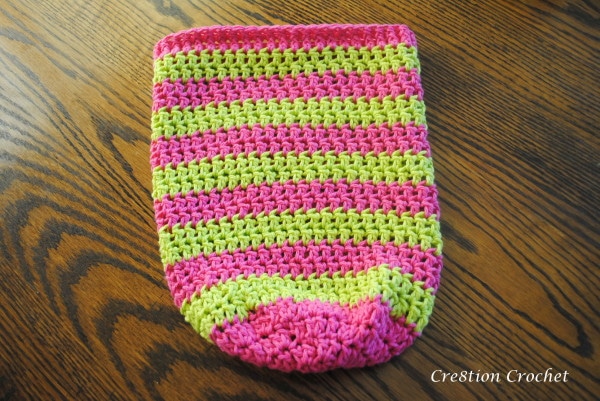
13. Enjoy your new pretty bathroom garbage pail cover up.
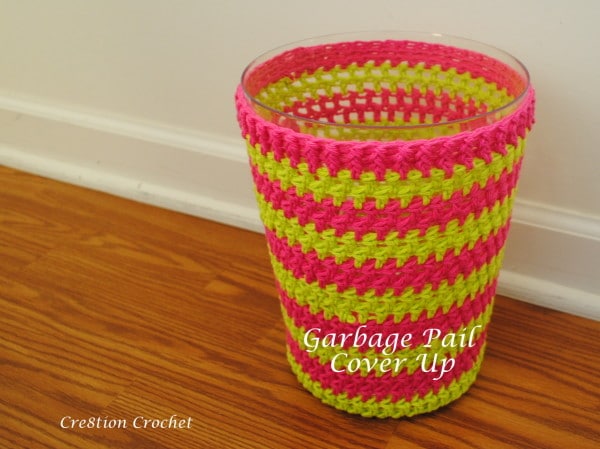
I hope you enjoyed this crocheted bathroom garbage pail cover up pattern. If you have any questions please feel free to comment below. Have a great day and as always…
happy hookin’


