Little Guy Stuffed Owl Cuddly
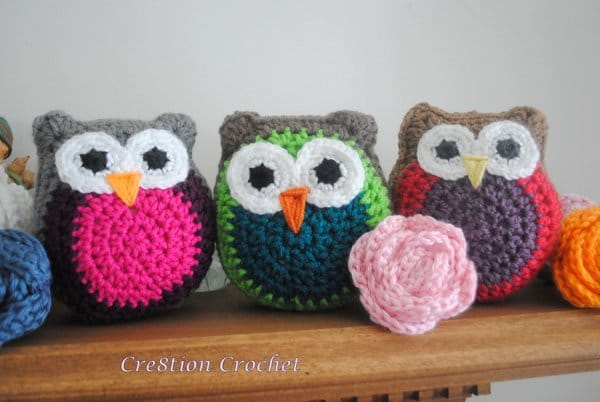
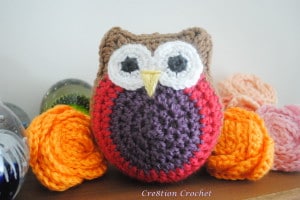
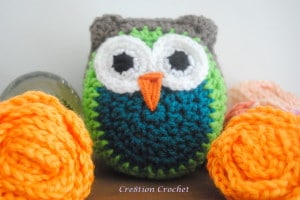
This little guy was thought up as I was making my Bunny and Clyde Easter bunnies. With owls being so popular right now I decided to make my daughter a little owl stuffy to cuddle. She loved him so I figured I’d share him with my followers. I am in the process of designing two different size owls but here is the first to get you started.
***There was originally an error on row 6. I apologize for any inconvenience. This was fixed on 07/11/13
Finished Size:
approximately 5″ wide by 6″ tall
Materials:
Worsted Weight yarn any three colors for owl
small amount of white and black for eyes and yellow or orange for beak
(I used Red Heart and Vanna’s choice scraps for the bodies and Simply Soft for the beak and eyes)
5.5mm (I) hook, 4.0mm (G) hook
tapestry needle
stuffing/batting
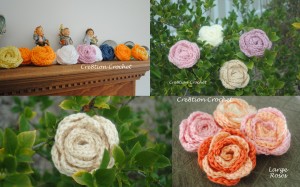
You can find the flower pattern featured above here — > Large Roses Pattern
Gauge:
Round 3= 2.5”
Round 5= 4”
Abbreviations and Stitches Used:
CA- Color A
CB- Color B
CC- Color C
mc/r- magic circle/ring (watch this video tutorial)
st– stitch
sp– space
sl st– slip stitch
insert hook into stitch or space, yarn over and pull through stitch, (two loops on hook), pull loop closest to hook through other loop
ch– chain
sc– single crochet
insert hook into stitch or space, yarn over and pull through stitch (two loops on hook), yarn over, pull through both loops
hdc– half double crochet
yarn over, insert hook into stitch or space, yarn over and pull through stitch (three loops on hook), yarn over, pull through all three loops
dc– double crochet
yarn over, insert hook into stitch or space, yarn over and pull through stitch (three loops on hook), yarn over, pull through first two loops on hook, yarn over and pull through last two loops
Notes:
To change color on every color change- for final sl st, insert hook into st, yo with new color and pull through st. With both loops (one of each color) still on hook (keep tight), tie tails of old color and new color together with two knots. Then continue on with your sl st and begin to work with next color.
Make sure all knots are tight and secure and then cut each about ½’’ long
You will get a different look depending on how much you stuff your cuddly
Cost of Materials:
Made with all scraps with the exception of batting. Can be found at any craft store for approx $7
Time Involved:
approx 1 hour to complete entire owl from start to finish
Recommended Retail Price:
$12-18
Instructions:
1. With CA- mc/r with 6hdc. Sl st into 1st hdc to join round. <6> (link to mc/r post/video)
2. Ch1. 2hdc in every st around. sl st into the top of the first hdc (skipping the ch1) to join round <12>
3. Ch1. 2hdc in every st around. sl st into to the top of the first hdc (skipping the ch1) to join round <24>
4. Ch1. *1hdc in the next st. 2hdc in the next st. repeat from* around. Sl st into the first hdc to join round (skipping the ch1) change to CB on sl st. For every color change, tie tails of new color to old color to secure, no need to stitch over tails as the will be on the inside of the finished item. <36>
5. Using CB. Ch1. 1hdc in space between 1st set of posts. 1hdc in between every post around. sl st into the top of the first hdc (skipping the ch1) to join round <36>
6. Ch1. *1hdc in each of the next 3sts. 2hdc in the next st. repeat from* around. Sl st into the first dc to join round (skipping the ch1) change to CC on sl st <45>
7. Using CC. Ch1. 1sc in each of the next 19 sts. 1sl st and 1 hdc in the next st. 2hdc in each of the next 5sts. 1hdc and 1 sl st in the next st. 1sc in each of the next 19 sts. sl st into the top of the first sc (skipping the ch1) to join round <52>
8. Ch1. 1sc into each of the next 17sts. sl st into the next st. 1hdc in the next st. 1hdc and 3dc in the next st. Ch1 and 1dc and 1hdc in the next st. 1sc into each of the next 8sts. 1hdc and 1dc in the next st. Ch1 and 3dc and 1hdc in the next st. 1hdc in the next st. 1sl st into the next st. 1sc into the remaining sts.
9. Loosely sl st around the entire piece. 3sc in each of the ch1 spaces (ears).
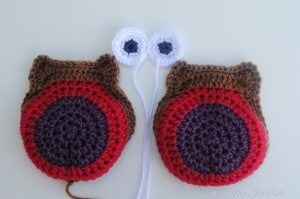
10. Repeat entire pattern again for second side. You can use the same colors, use different colors or use any one solid color to complete the back of the owl. This time fasten off and leave a 4’ (48”) tail.
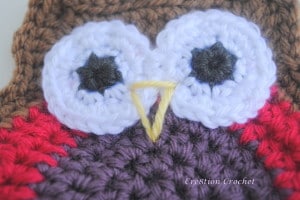
11. Make eyes (pattern below) and stitch onto the right side of one piece. Stitch on beak (directions below).
12. Put sides back to back with the good side facing in. Whip Stitch together leaving a 1 1/2″ gap. Turn right side out. Stuff with batting. Finish stitching together, fasten off and weave in ends.
Eyes:
4.0mm (G) hook
Using black or grey. Mc/r with 6sc. Sl st to close round and change to white on sl st. (with hook still intact also tie center tail (black or grey) with the other black or grey tail tightly to secure. Cut tails (do not cut long working (white) yarn) approx. ½” long.
Ch1. 2sc in every st around. join round with sl st. <12>
Ch1. 2sc in every st around. join round with sl st. <24>. Fasten off and leave 12” long tail.
Repeat for second eye, leaving an 18” long tail.
Using 18” tail secure eyes together in the center for 3-4 st spaces.
Secure onto right side of one of the owl sides using long tails.
Beak:
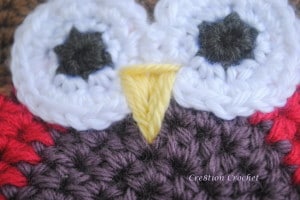
To stitch on beak start with the outline. Work from corner of one eye to point of beak. Then work from the corner of first eye to the corner of the second eye. Then work from the corner of the second eye to the point of the beak. Fill in working from both sides to the center. I recommend working from the point of the beak to the top.
I hope you enjoyed this tutorial on my Little Guy Owl Cuddly. If you like what you see please share.
Have a fun and as always…
happy hookin’
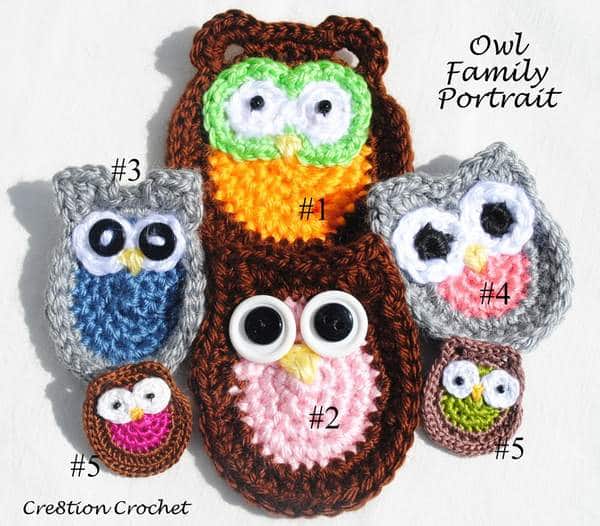
Love owls???? You may also like my Owl Family Portrait
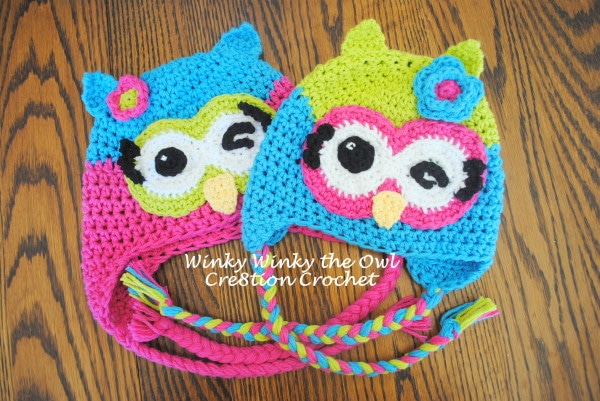
Or check out one of my most popular owl hat patterns, available in 4 sizes
Winky Winky the Owl
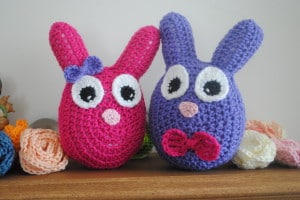
Owl pattern inspired by my Easter pattern… Bunny and Clyde
Or check out all of my other FREE Crochet Patterns HERE
