This post contains affiliate links
How to Stain/Paint Your Crochet
Here at Cre8tion Crochet I am adding a new feature. I will be collaborating with other artists to bring you even more great free patterns and tutorials. This one is brought to you by Lisa Jelle of Kaleidoscope Arts & Gifts. You can read more about Lisa and her shop HERE.
Our first collaboration is this amazing new process that Lisa recently came up with, a way to stain or paint your finished crochet pieces. This method allows to you so much creative freedom. You can give your crochet details you couldn’t normally create. The method is perfect for appliques.

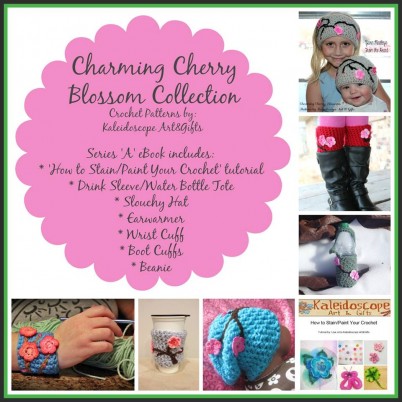
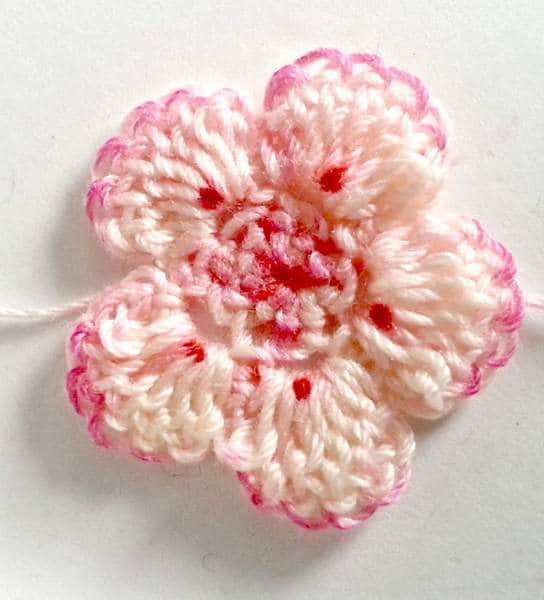
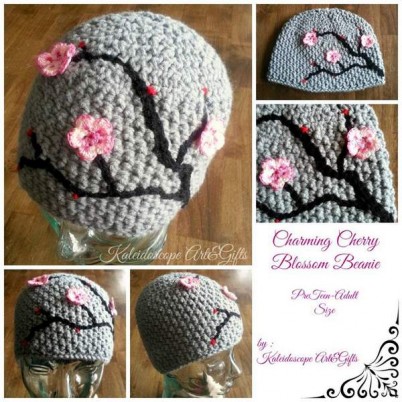
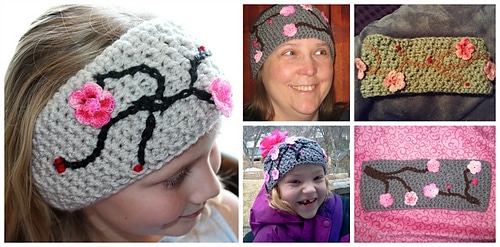
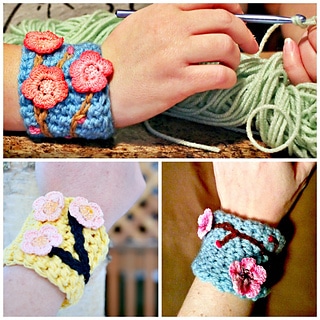
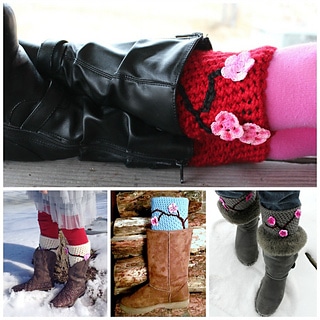
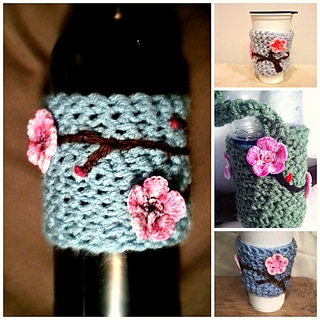
Lisa uses this new method in her latest patterns, The Cherry Blossom Series. You can find the patterns for these awesome creations on Lisa’s Ravelry page HERE. Full list of patterns and links at the end of the post. Use promo code “cre8tion” for 15% off any of these amazing patterns.
CLICK HERE TO WIN A FREE COPY OF THE CHARMING CHERRY BLOSSOM PATTERN SERIES E BOOK
![]()
Tutorial by: Lisa Jelle-Kaleidoscope Art & Gifts
Kaleidoscope Arts & Gifts on Facebook
Supplies needed
- Finished piece (See fiber notes at end of this tutorial. I used #10 cotton crochet thread for my blossoms)
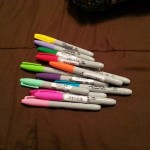
- Permanent markers (I use Sharpies because of the wide range of colors available)
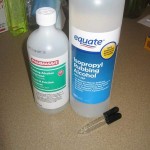
- Rubbing alcohol
- Plastic syringe, medicine dropper or Q-tip (you can get a small dropper or plastic syringe for free from most pharmacies, the size used to administer children’s liquid meds)
- Paper plate or thick paper to protect surfaces
The process
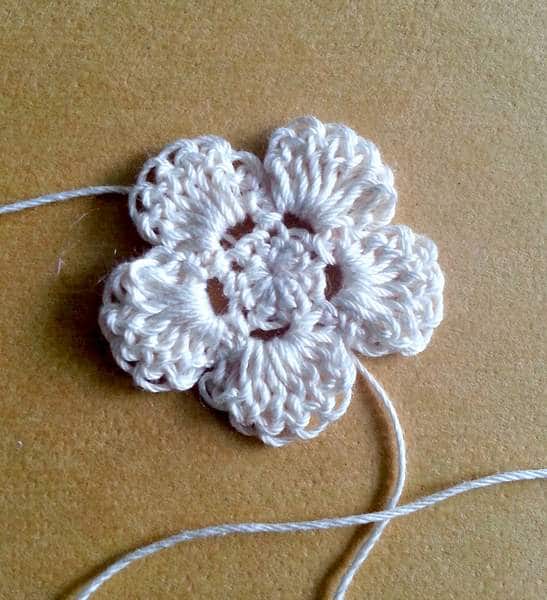
Start with your finished piece
Apply permanent marker-Note: intensity of color will lessen after you apply the alcohol in next
step, start small (less is more) and add more color later if you’d like it brighter or darker.

Apply alcohol with Syringe/Dropper/Q-tip: NOTE you can’t really add TOO much. The more
alcohol you add, the more likely the ink will disperse ‘watercolor’ style.

Optional- add more details, color and/or alcohol to get the effect you like. Note: overall colors will lighten up when piece has dried completely.
Rinse in warm water to remove excess color and alcohol residue. Allow to completely dry before attaching to any items (especially light colored items) in case there is any residual color.
Ready to attach/use
Think outside the box! You can apply this technique to almost anything. Butterfly
appliqués, freehand ‘paint’ on a hat, blanket, wall hanging. Your imagination is the limit!
I hope you enjoyed this tutorial. If you have any questions, feel free to contact me.
I have written this tutorial and am publishing it for free to all, however, if you sell any
items you create that include this technique please credit me as the tutorial’s author.
Please also follow the Golden rule and do not copy, sell or distribute this tutorial AS YOUR OWN.
Thanks and enjoy!
Lisa Jelle Kaleidoscope Art & Gifts
Find Lisa on:
Contact Lisa through EMAIL at [email protected]
Notes from testers:
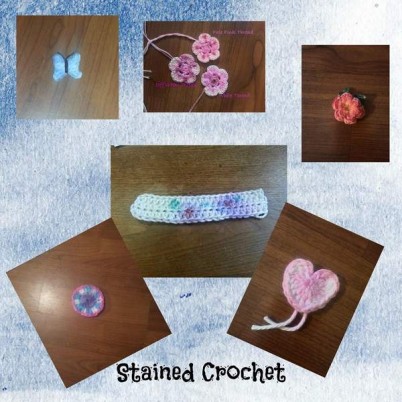
“The pink heart is KnitPicks Shine. It is 60/40 cotton/Modal.
Here is KnitPicks description of the Modal fiber: “Modal® is a fine, smooth fiber made from beech trees. An Austrian company, Lenzing, creates Modal® by turning beech wood into pulp, extracting the fiber, and then reconstituting the fiber so that it can be spun into yarn. Modal® is an all-natural fiber, and the beech wood used in Modal® production is from sustainable forestry plantations growing native trees. The byproducts of the manufacturing process are used in other industry applications; for example, leftover wood sugar from processing is used in the manufacture of artificial sweeteners. The Modal® fibers are extremely smooth and soft, and blending them with cotton helps the yarn to stay soft and vibrantly colored, even after many washes. Shine Sport and Shine Worsted each contain 40% Modal® in their cotton blend, and it’s this fiber that gives them their namesake “shine” and silky texture.”
The little butterfly is 50/50 cotton acrylic. I used three different colors and they blended beautifully and definitely give the watercolor soft look for color. The particular brand I used was Lion Brand Cotton Ease. Not sure if it would make a difference on another brand but the 50/50 blends that I have bought all have similar texture/finish.
The rose is KnitPicks Comfy which is a 75/25 cotton/acrylic. I blended three colors on the petals and did a single color on the leaves. I am absolutely in love with it and trying to decide what to put it on.
The round is cotton worsted.”
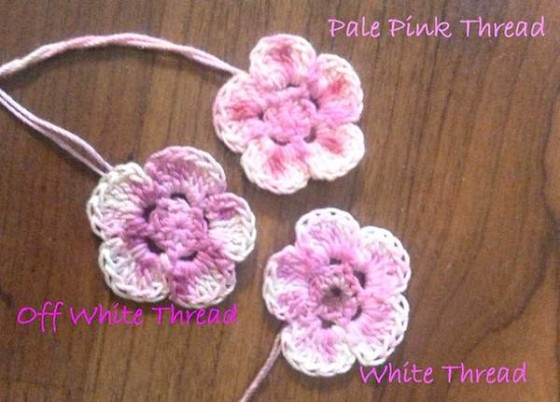
“The cherry blossoms. I labeled on the pic which color thread I used.”
“I found that some colors bleed better then others. For example reds, pinks bleed overly perfecto, green not so well. Blues okay but not on thicker fiber. All these do better on threads like #10, #5 or #3. I tried them all, and all cotton.. I also did worst weight cotton and I think if I would have chosen different colors like reds and pinks it would have looked so much better but because it was a shamrock I used greens. However when I say bleed better I think greens blues and purples would bleed well in threads but not as well as yellow orange and pinks and reds. I also found that when you rinse them after drying with the alcohol in them that using a baby soap like Johnson’s works well because just rinsing didn’t get all that color out. Especially going to be true if you are planning on attaching it to something white that might be worn outside where maybe snow or rain could cause it to become wet and therefore could become a mess if all the excess color wasn’t rinsed completely in the final step…..Also it’s so much fun to play around with and I plan to do this with snowflakes ect with my children asap. I’m also going to do some Easter eggs let my babies color them and decorate them with the markers and do the process. It’s going to be so much fun and hours of endless enjoyment throughout the year. Best part about this project it’s not limited by season or holiday. Love it….”
Special thanks to:
Leah from Creative Threads by Leah , Crystal from Frazzle Me Crochet , Evelyn from Candid Quilts & Crafts, Nondas from Yarn Medleys From the Heart, and Michelle from Magic Mommy’s Yarning for their feedback and photos!
Here are all the patterns available in the Charming Cherry Blossoms Series.
Use promo code “cre8tion” to receive 15% off your pattern purchase
Charming Cherry Blossoms Beanie
Charming Cherry Blossom Head Wrap
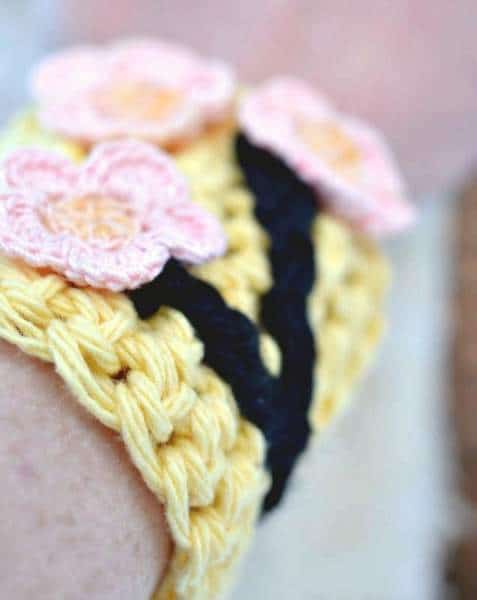
Charming Cherry Blossom Wrist Cuff
Charming CherryBlossom Boot Cuffs
Charming Cherry Blossom Drink Sleeve
OR you can purchase the entire ebook HERE