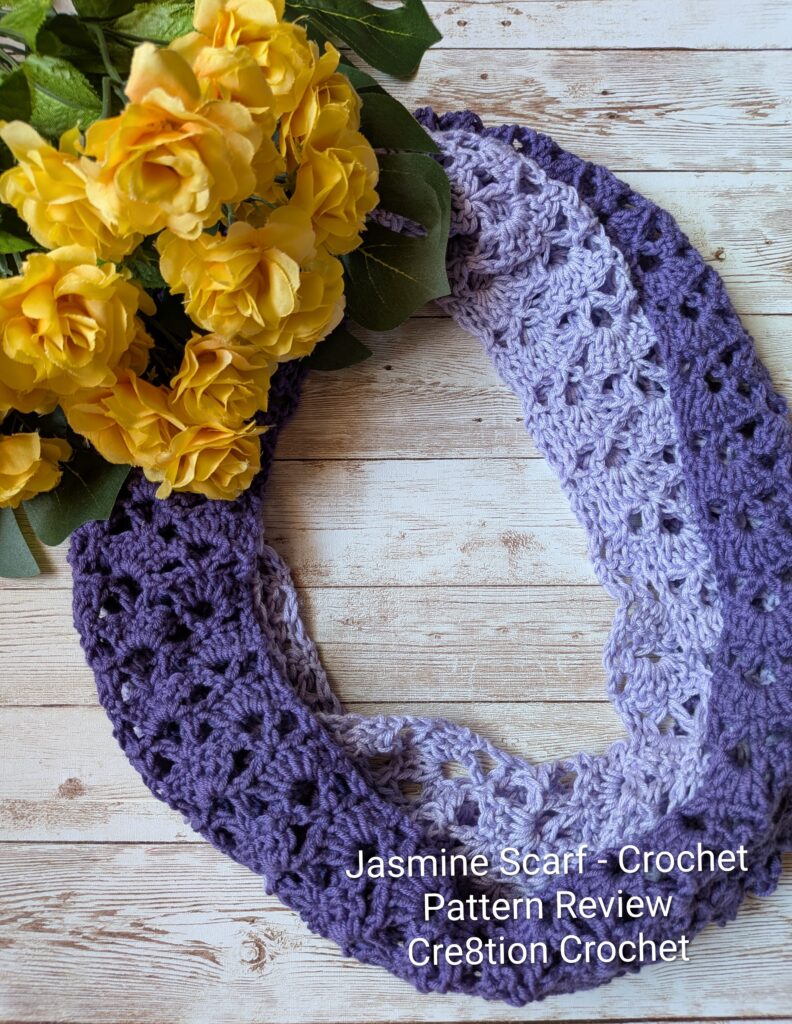
This is a crochet pattern review of the Jasmine Scarf designed by Assia Colozzo for Crochet Village. Review done by Kami Jones for Cre8tion Crochet.
This post contains affiliate links. If you make a purchase by clicking on them, I make a small commission at no extra cost to you. I only recommend products I love and hope you’ll love them too! Click here to find out about the different affiliate programs I am apart of. This post also contains shop links to my yarn shop and craft store, Yarn Crafts & Coffee.
Find the crochet pattern review below, view the free crochet pattern on the Crochet Village blog or click here to purchase the pattern from Ravelry!
In a hurry? Pin this for later when you have more time.
Hi! This is Kami. Be sure to come join me over on Instagram and say Hi.
Transitional weather is upon us again. Light layers work well for Spring and Fall because the mornings and evenings are cooling off but it is still plenty warm during the daytime. Having those layers to add or remove is so helpful in staying at a comfortable temperature. Cardigans are my absolute favorite. But scarves also work very well.
Since scarves come in so many shapes and sizes most of the time it’s easy to adjust a pattern to your preferences. The Jasmine Scarf is a two row repeat pattern. Therefore it is easily memorizable, quick to work up and can be worked to almost any length. But it does have a larger pattern repeat so adjusting width is a little more difficult. Adjusting your hook and yarn can give you a nice lacy look, or a tighter stitch with less holes. So you can have the perfect fabric for your weather. I chose a lightweight yarn and used a bigger hook to keep it light and lacy since it is warmer here. But a thicker yarn and a smaller hook would work great in colder areas. As long as the resulting fabric isn’t stiff you should be good to go.
What Materials Do You Need to Crochet a Scarf?
- Premier Cotton Fair Yarn (127 yards in Iris and 127 yards in Grape)
- H8/5mm Crochet Hook
- Scissors
- Tapestry Needle
- Jasmine Scarf, Free Crochet Pattern from Village Crochet blog
Material Notes:
The designer used Yarn Bee Soft and Sleek DK for her scarf. I have never used this yarn so I’m not entirely sure how my yarn compares in size. Because yarn weight categories are determined by WPI (wraps per inch) there is usually a range of sizes included in categories with some overlap. But aside from the size difference there is also a difference in fiber. Premier Cotton Fair is a blend of 52% Cotton and 48% Acrylic while the Yarn Bee is 100% acrylic. Cotton tends to absorb more moisture and stays wet longer. Therefore if you live where the weather is wetter this may not be your best option for a scarf.
How Long Does it Take to Crochet a Scarf?
Although I didn’t time myself, I am guessing that this scarf took around 3 hours to make. I chose to block my scarf and added that time to my estimate. However I didn’t add drying time. Drying time varies greatly depending on what blocking method you use. For instance a steam blocked item will dry a lot faster than a wet blocked item. Additionally weather factors in as well, with warm or dry weather drying more quickly than cold or humid weather.
Measurements:
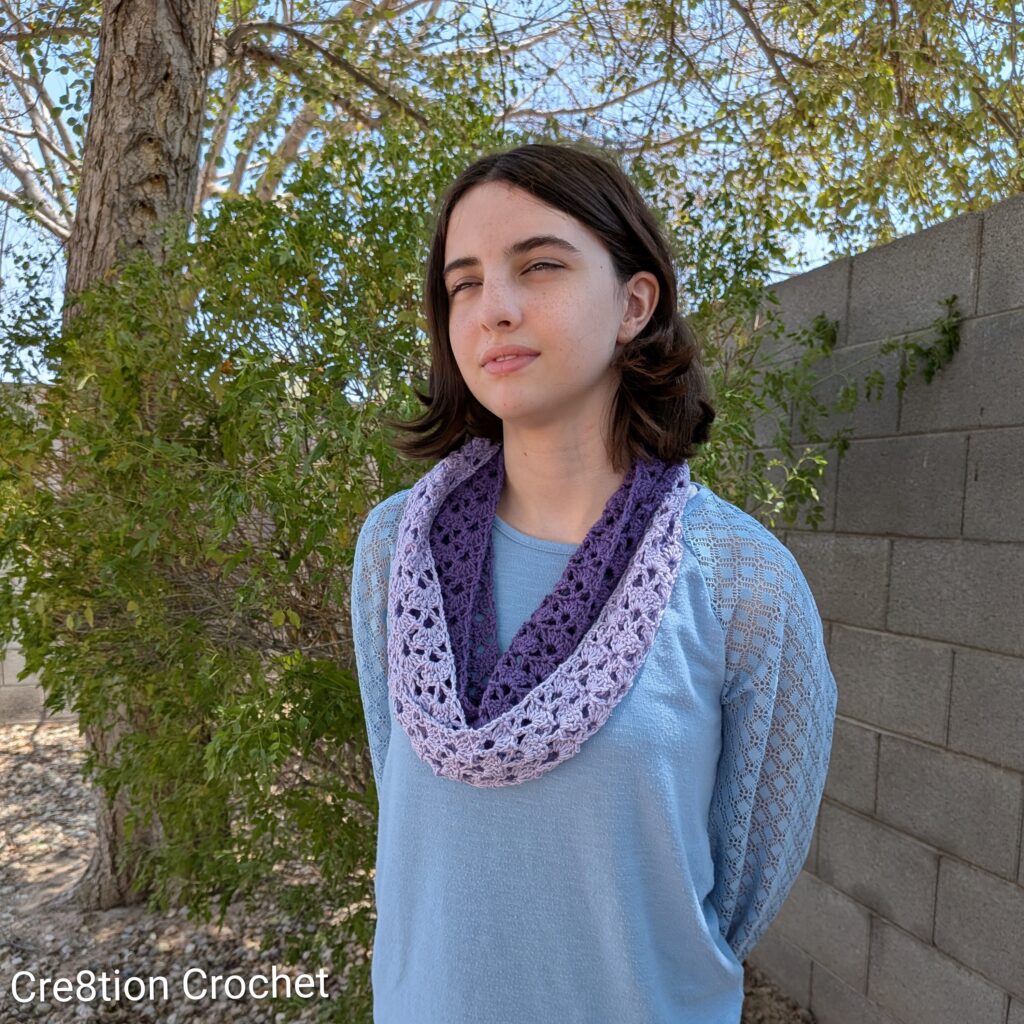
My finished scarf was 5.5 inches wide and 68 inches long after blocking. I made mine into an infinity scarf by sewing the ends together.
Gauge:
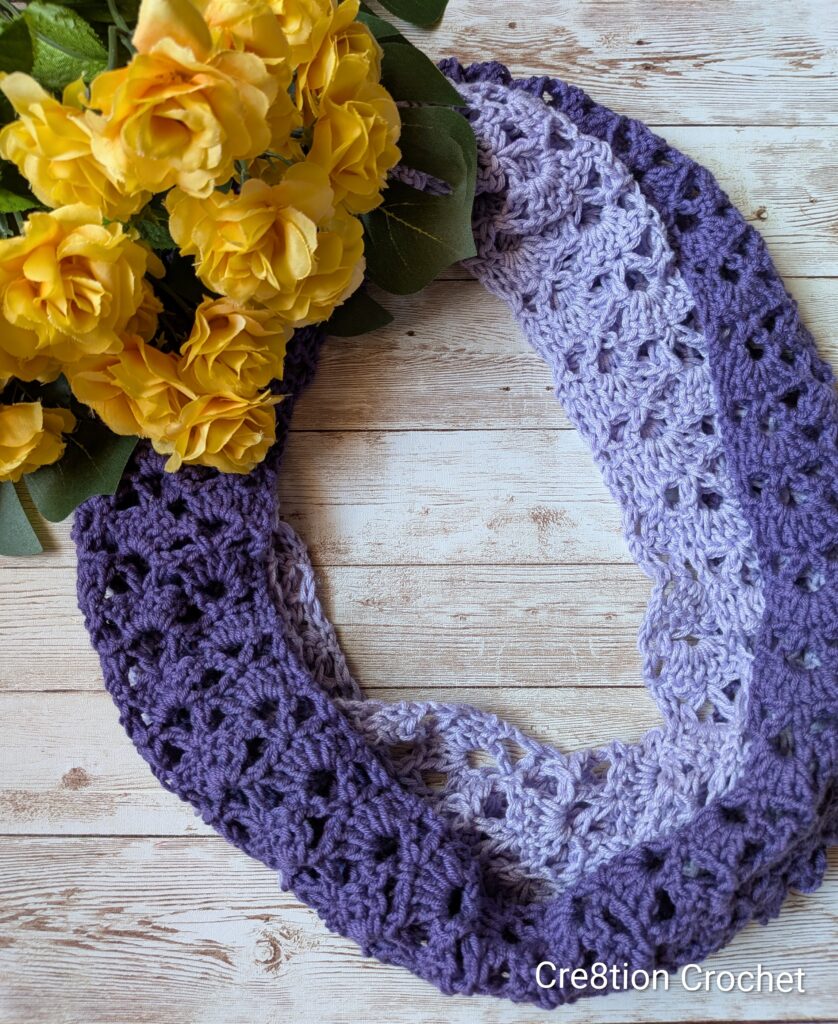
Before blocking my gauge was approximately 7 rows and 2.5 pattern repeats in 4 inches. After blocking I had approximately 6 rows and 2 pattern repeats in 4 inches. Blocking opens up the lace in this pattern, I highly recommend not skipping it.
Pattern Notes:
I adjusted my scarf by doing only 26 chains to start and then only 106 rows. This worked better with my gauge since my yarn was thinner and my hook was bigger. Plus since I was doing an infinity scarf I wanted it to be skinnier.
Also I chose to make a two tone scarf. I wanted to use the Iris color that I had but didn’t have enough of it. From personal experience I know that it is a bad idea to mix lots with Cotton Fair. Since the color wouldn’t have matched I decided to go with the Grape and have a more genuine looking two tone.
Additionally I had used all of the Iris color that I did have on the body so I decided not to do the border. Normally I would have done the border using the matching color for that section. And I decided I didn’t want to drown out the Iris color completely by using the darker Grape color for the entire border.
I am so happy with how this scarf turned out. Plus since I went with the two tone infinity it’s easy to change the look. Light or dark? You decide!
Be sure to join me over on Instagram for more fun projects and inspiration.
Join one of our awesome Facebook groups to share your creations, and see what others are up to!
– Yarn Crafts & Coffee Community
– DIY Home On Rockwood Lane
– Alexandra Lane Lifestyle
Linked Up To…
Leave a Reply