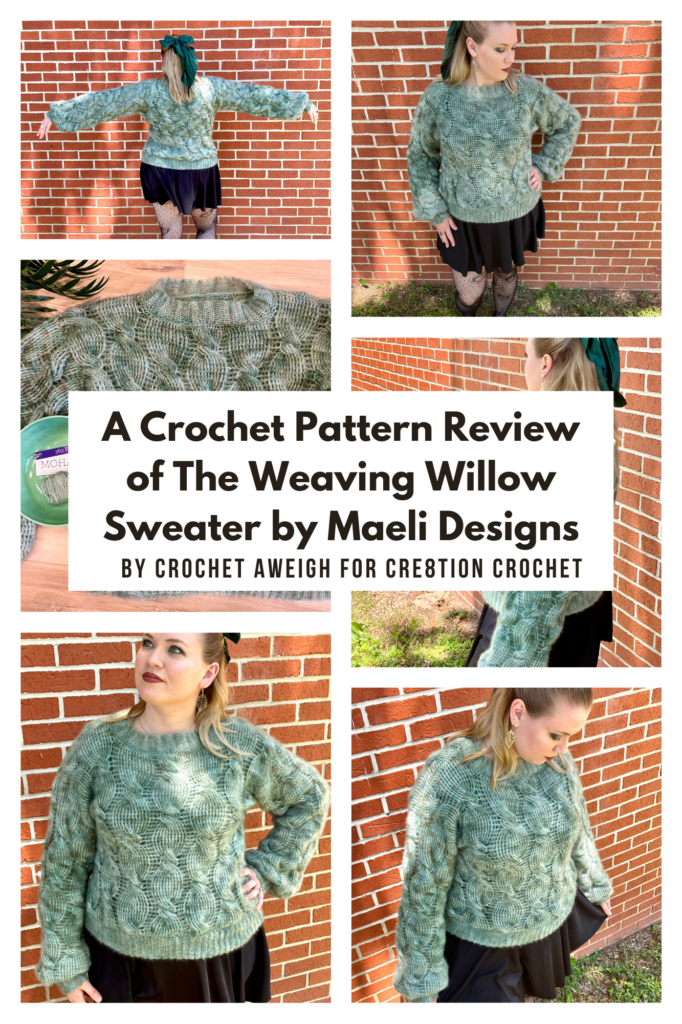
Crochet Pattern Review of the Weaving Willow Sweater designed by Maeli Designs. Review done by Emily of Crochet Aweigh for Cre8tion Crochet.
This post contains affiliate links for Amazon, WeCrochet, and Yarn Crafts and Coffee. If you make a purchase by clicking on them, I make a small commission at no extra cost to you. Thanks for your support!
Find the crochet pattern review below or purchase the pattern from Maeli Designs on Etsy.
In a hurry? Pin this for later when you have more time.
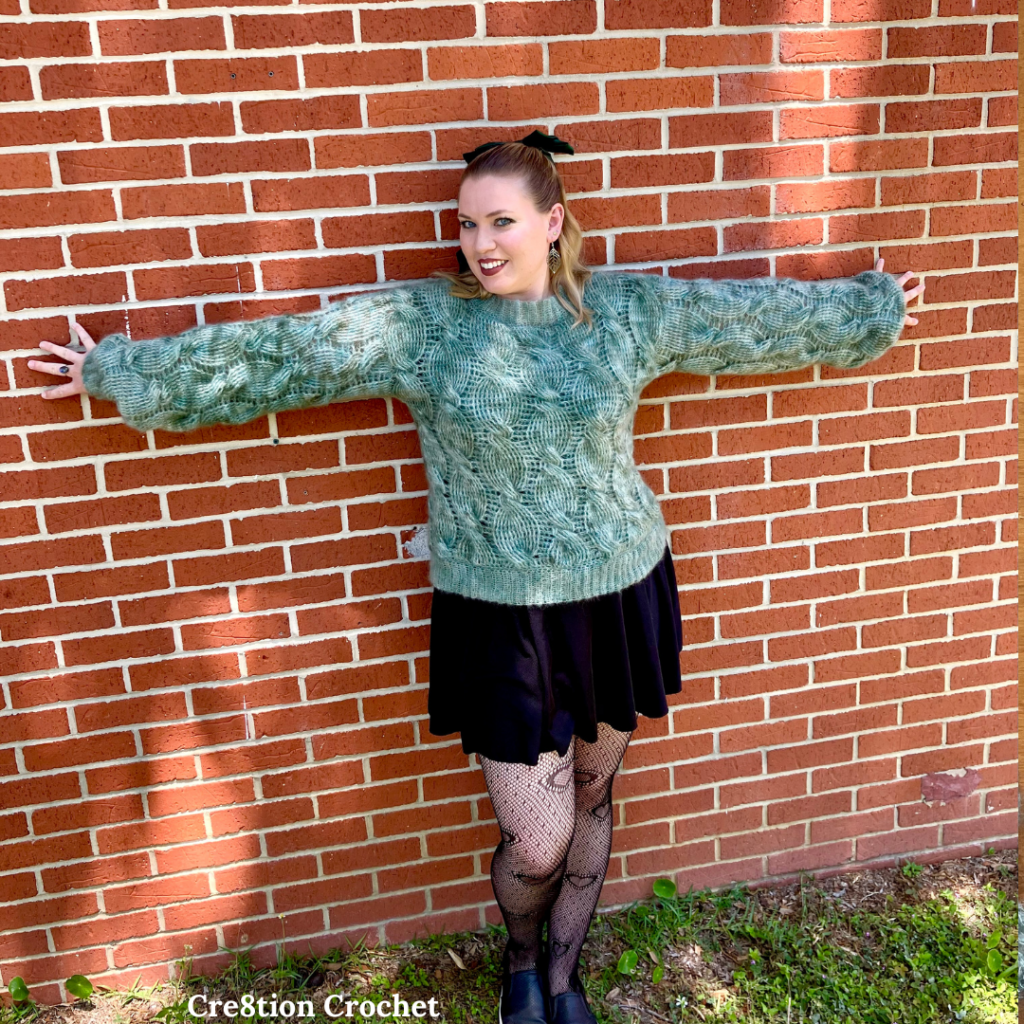
It’s me, Emily with Crochet Aweigh.
Would you believe me if I told you that I wore this incredible sweater on a day that was 80 degrees outside and I wasn’t even hot??? The Weaving Willow Sweater by Maeli Designs is so lightweight and magical! It is so fluffy and soft, but somehow not hot because of the lace weight mohair yarn!
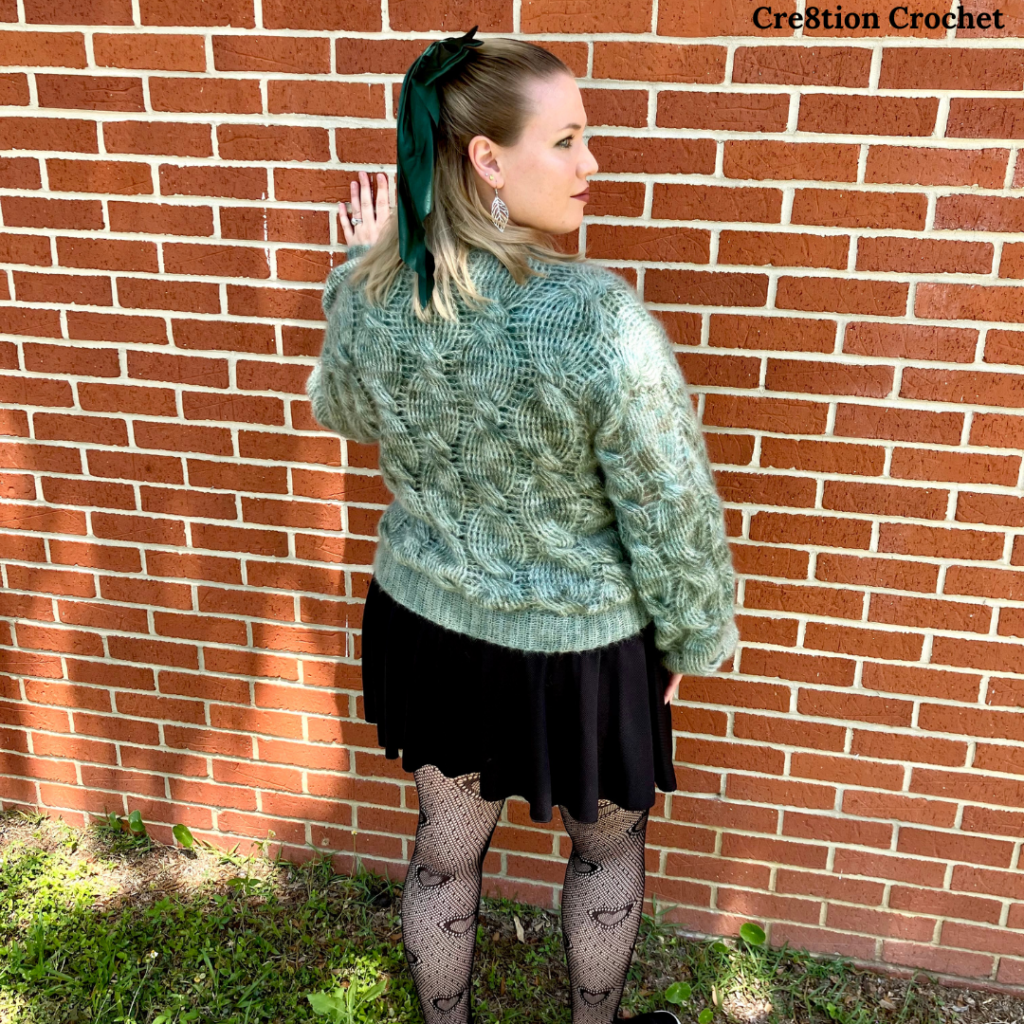
Yes, it is indeed crocheted! Cables are traditionally a knitted stitch. Some fiber artists are unaware that you can crochet cables too; and Maeli is here to show you that it can be done, and can be done well!
Visit with me on Instagram @Crochet.Aweigh for all kinds of awesome crochet makes and inspiration.

What Materials Do You Need to Crochet a Weaving Willow Sweater?
- Between 800 – 3,300 yards of a lace weight “haloed” or fuzzy yarn – I used Malabrigo Mohair in the color “Pascal”
- Between H8/5.00mm – J10/6.00mm Crochet Hook depending on yarn selection – We love Clover Amour Ergonomic hooks!
- Soft tape measure as taking measurements is important
- Scissors and yarn needle for weaving ends
- Stitch Markers – I love these cute kitty ones!
- The Weaving Willow Sweater, Paid Crochet Pattern by Maeli Designs via Etsy

Material Notes:
The material needed for this sweater is interesting because you can use just about anything for this pattern! The recommended yarn is a lace weight fuzzy yarn like a mohair or alpaca suri. However you can choose any tubular yarn sport weight through worsted if you aren’t comfortable working with fuzzy lace weight yarn. Maeli used Hobbii Alpaca Blaze for hers, and I used Malabrigo Mohair in the color “Pascal”. I will tell you that this kind of yarn is NOT for the faint of heart. Especially in combination with the cables. If this is your first foray into cables I would definitely recommend selecting a regular yarn. I also recommend that you use Maeli’s video tutorial to make a practice swatch. I made a swatch first with regular yarn to get a feel for how the stitch repeat worked, then made my gauge swatch with the mohair.
The sweater is made to measure, which is why the yarn options are so flexible. Made to measure means that you take your measurements and then do the pattern according to that, rather than a certain number of stitches per size. When purchasing this pattern you will receive a look book that includes yarn & yardage info from all the pattern testers. This will be crucial in helping you determine how many yards you should purchase for your sweater. Some of the other testers used regular yarn instead of haloed yarn so their info will be incredibly helpful when deciding what to use for your own!
As for the hook size, if you are going with a fuzzy lace weight you will need an H/5.00mm hook, if you are doing a sport weight you should use the recommended hook size on the yarn label, and if you are using a DK or worsted yarn then you need a J/6.00mm hook.
For my sweater I used my favorite H/5.00mm hook and almost 11 complete skeins of the Malabrigo Mohair. Their mohair is 229 yards per skein and I used about 2450 yards.
How Long Does it Take to Crochet a Weaving Willow Sweater?
A great question! I didn’t time myself on this so I don’t know for sure. I would say somewhere between 30-35 hours. This sweater was more time consuming than the average sweater due to having to be extra careful with the fluffy yarn. Also if you have to frog it, its very slow going.
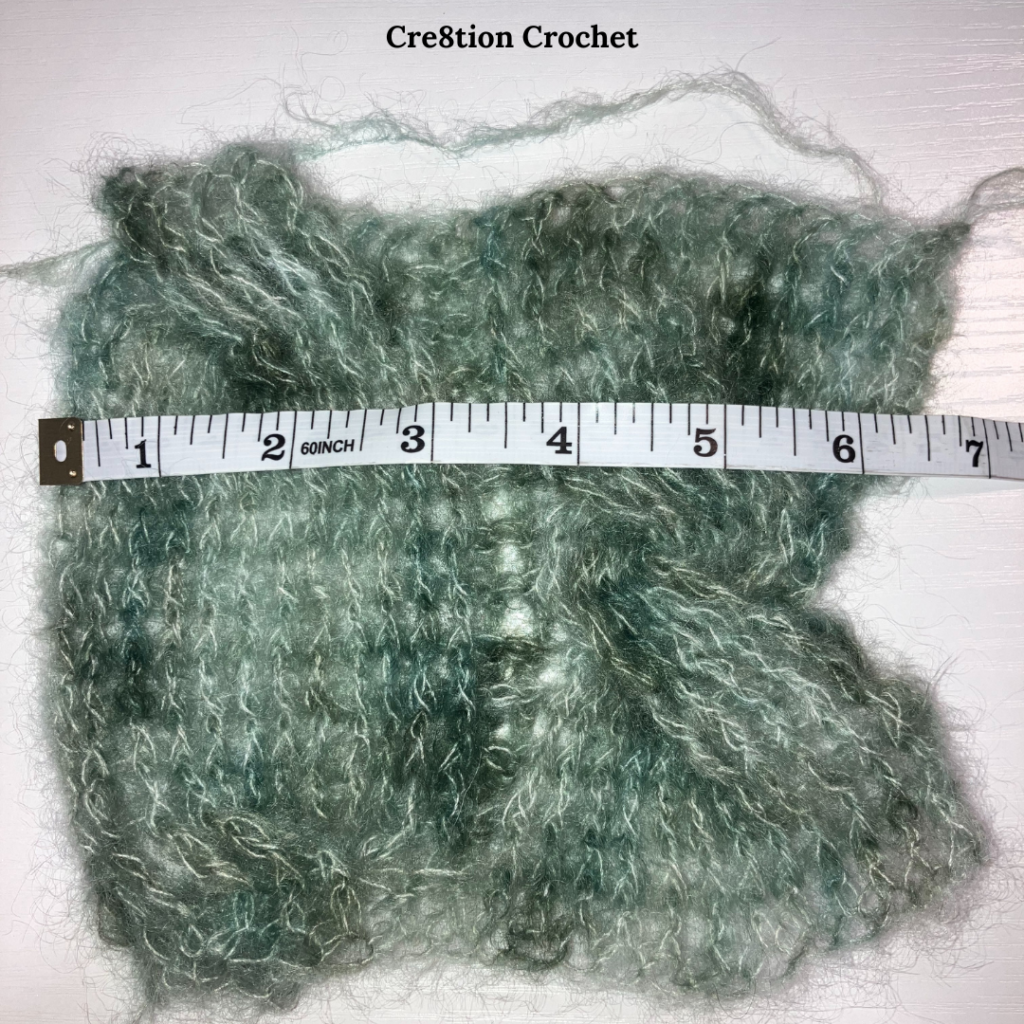
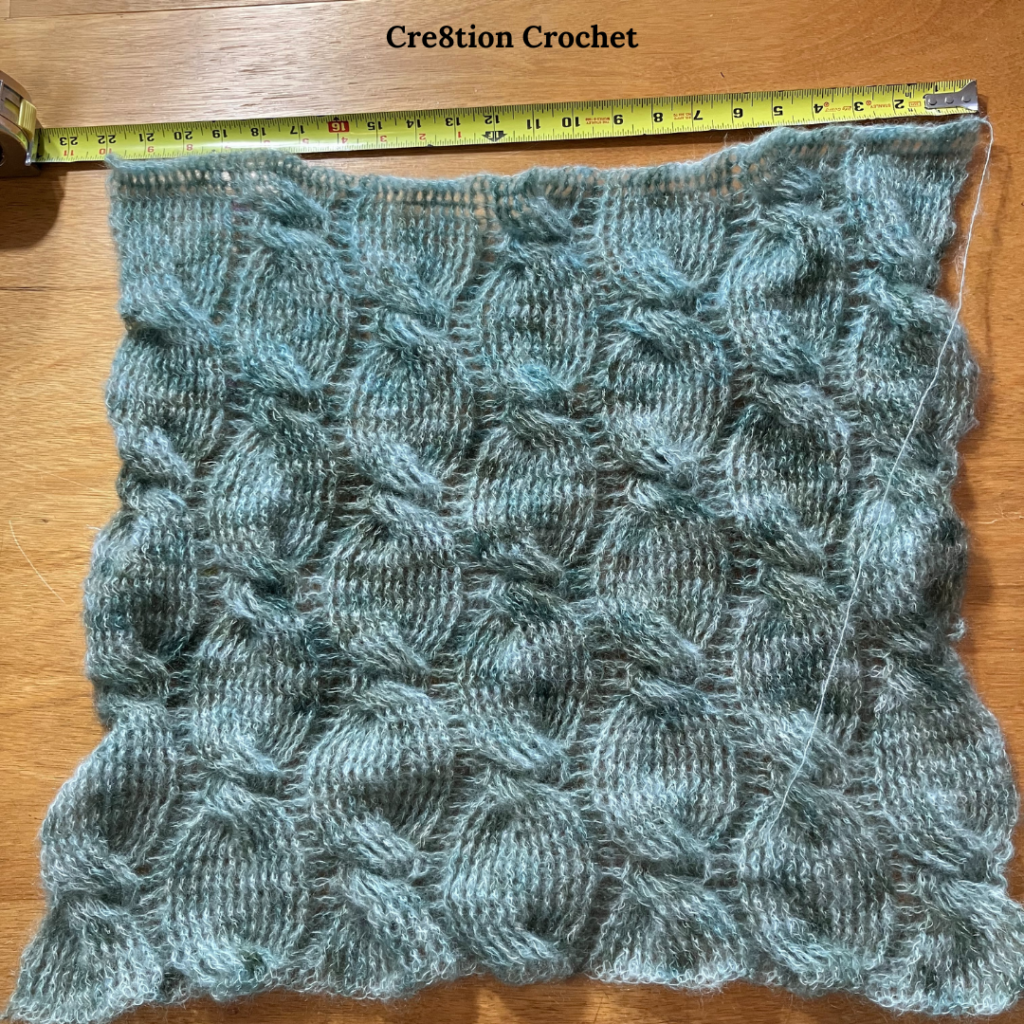
Gauge:
The gauge isn’t really important, but you have to make this test swatch. Maeli is such a genius that she provides a spreadsheet that will calculate starting number of stitches, and repeats, and all sorts of good stuff, but you have to enter in your test swatch measurements so that the spreadsheet can do its thing. This is a really cool feature of some of her designs to help you make a garment that actually fits you! Or fits whoever you have the measurements for.


All About the Weaving Willow Sweater:
The Weaving Willow Sweater is made in the following steps: make back panel, make front panel with shoulder shaping, seam shoulders, add neckline ribbing, make 2 sleeves, sew sleeves onto front/back panels, seam up the sleeves and down the sides of the sweater, and make sleeves and bottom ribbing, sew on ribbing. I would classify this pattern as advanced intermediate to experienced level.
Maeli provides a few different options for this sweater. She has is designed as “classic fit” with 2 inches of positive ease, “loose fit” with 5 inches of positive ease, “oversizes fit” with 8 inches of ease, and “super oversized fit” with 11 inches of ease. She also provides those 4 options for the sleeves as well. This makes the sweater super customizable for your preferred fit. I chose the loose fit for both my sweater and sleeves. Positive ease is how big the finished garment is compared to your regular measurements.
This pattern is almost completely front post and back post double crochets. When we get to the cable rows we use front post triple crochets, skip some stitches, and then work into the skipped stitches to get the twist in the cable. Again I really recommend using the video tutorial in order to figure out which stitches we skip, how each row starts, etc. The stitch repeat is 12 rows long. Another tip I used was using a stitch marker to mark the first row of each repeat. With fuzzy yarn and cables it is difficult to count the rows. If you mark them then you only have to be able to count a max of 12 rows at a time.

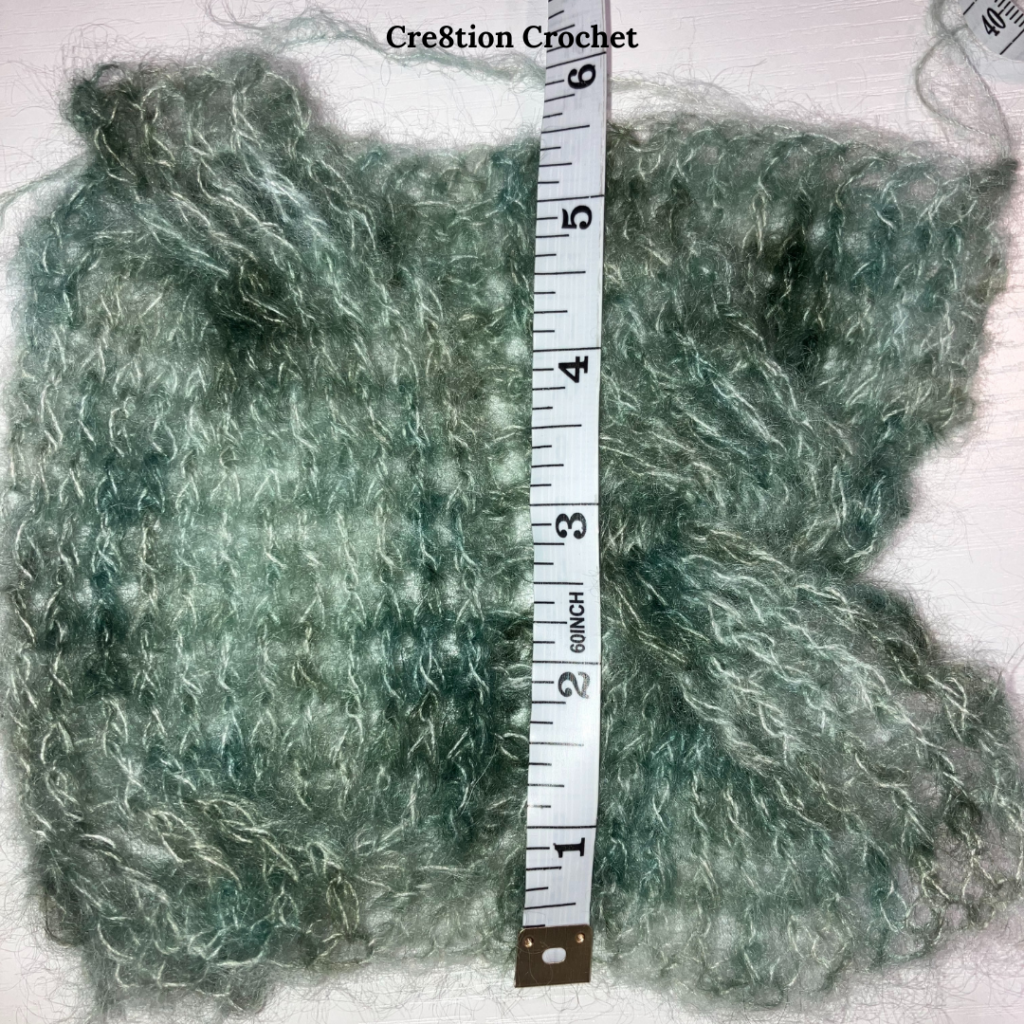
The sweater pattern does call for something I usually try to avoid, which is single crocheting the ribbing separately, and then sewing it on. I didn’t understand why she would have us do this as it is extra work. However you can see in the photo above that when I tried to single crochet ribbing as usual, by using slip stitches to attach it as I go, that didn’t work. The ribbing came out far too loose, and because it was mohair I was unable to frog it. I ended up CAREFULLY cutting it off of the neckline, and redoing it according to how Maeli specified. Then I did the sleeve ribbing and bottom ribbing separately too. It really did look much better than way.
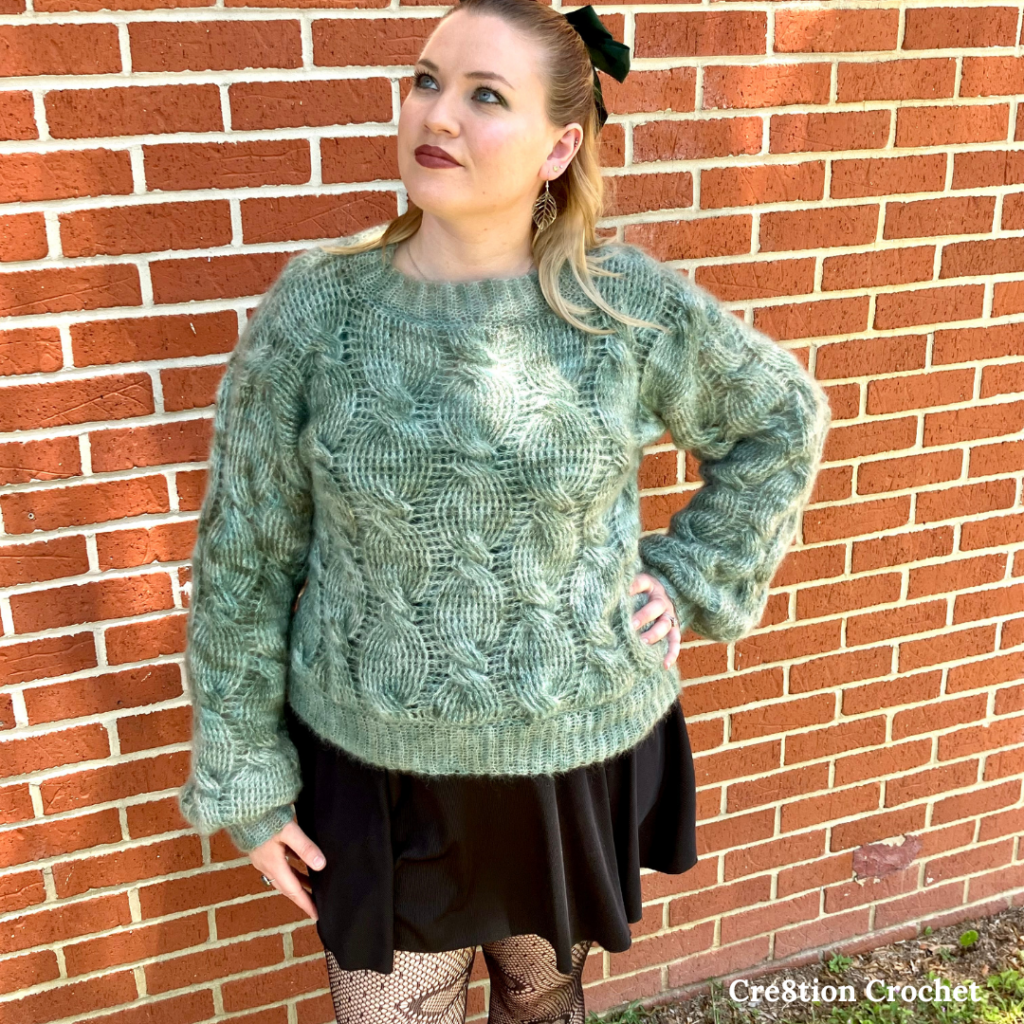
The Weaving Willow Sweater was a challenge, but ultimately so worth it for the result! Now I have a stunning sweater than I can wear even when its on the warmer side! It is a work of art! Comment below to tell me if you are going to give these crocheted cables a try!
Don’t forget to visit with me on Instagram @Crochet.Aweigh or all kinds of awesome crochet makes and inspiration.
Join one of our awesome Facebook groups to share your creations, and see what others are up to!
– Yarn Crafts & Coffee Community
– DIY Home On Rockwood Lane
– Alexandra Lane Lifestyle
Linked Up To…


Leave a Reply