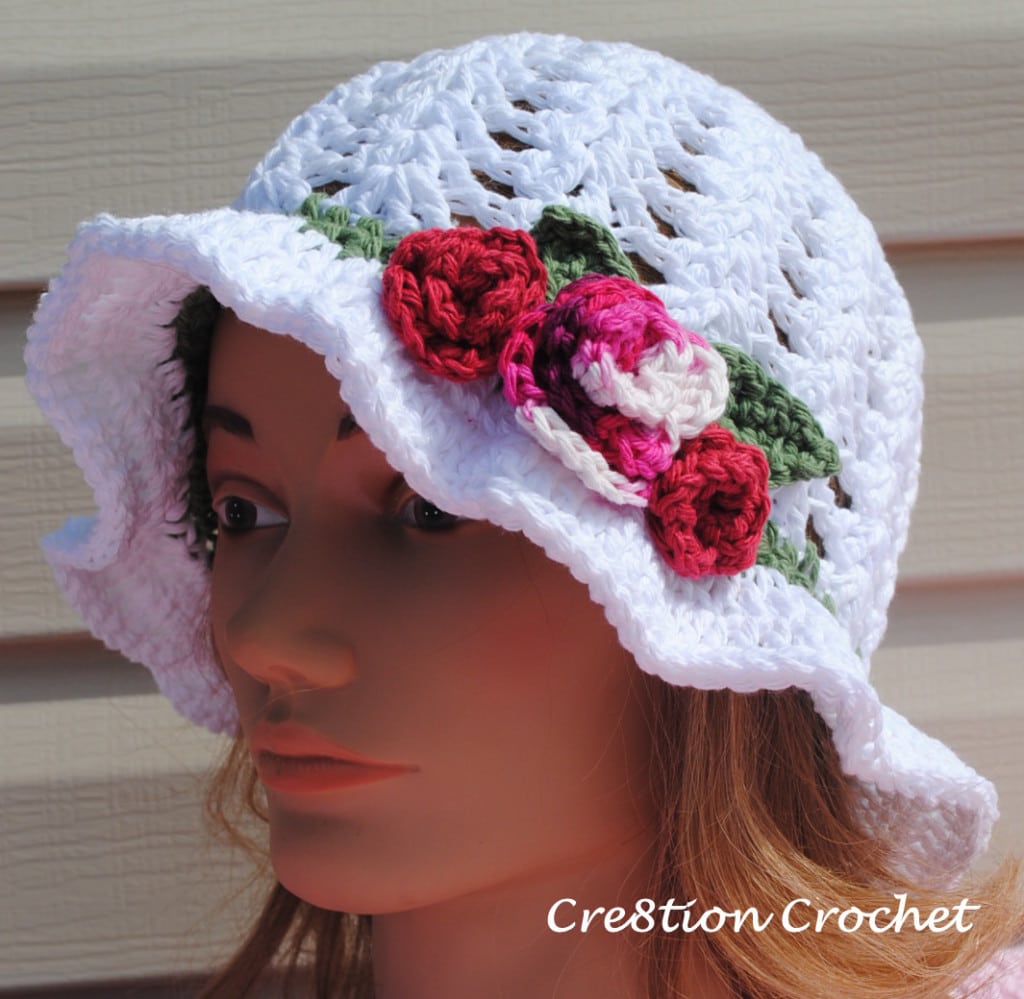
Adult Spring or Easter Hat
Shell Stitch Cotton Hat with Spring Blossoms
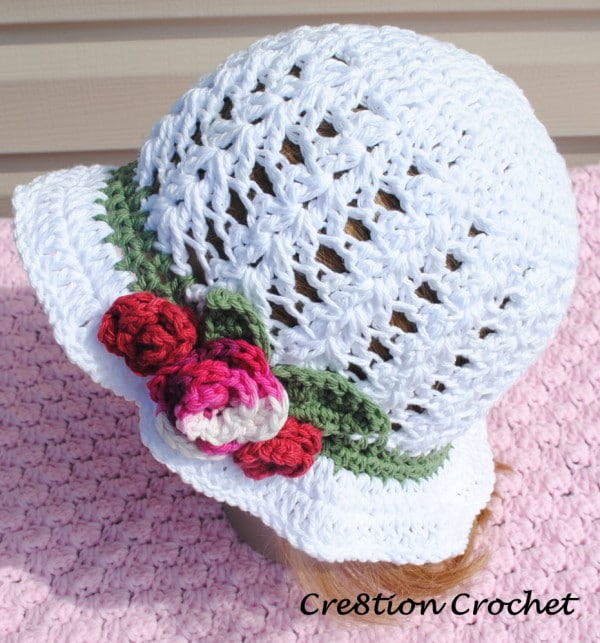
This lightweight adult spring or Easter hat is made with 100% cotton and is a perfect choice for Spring weather. This hat is created with dc and dc shell stitches. The brim has just a slight ruffle and the flowers are a sweet addition.
This pattern is also available in toddler size. Video tutorial for both sizes included below.
Special Stitches
mc/r– magic circle/ring – learn how here
Materials
5.5 m (I) hook for hat
4.0mm (G) hook for appliques
Leaves
Rosettes
100% cotton yarn in your choice of colors- I used Peaches N Cream
embroidery needle
Gauge:1st 2 rounds- 2.5”
Flat Circle- 6.25” (after round 5)
Finished Hat Size
Length (not including brim)- 7.0″
Brim- 1.5″
Circumference- approx. 20.0”
Notes
- Use minimal tension when making this hat
- Be sure to gauge your work
- You can easily customize the size of this hat by following this post –> How to Design your Own Custom Crochet Hat
- Pattern is made using my Seamless Method. If you have any questions or aren’t familiar with the method please check out the tutorial HERE
PATTERN
Round 1: Mc/r with 12dc, join round with sl st
Round 2: Ch2, skip first st. 2dc in next st and in every st around. Last 2dc will be placed into the st previously left empty. Sl st into next dc to join round <24> Should measure 2.5″
Round 3: Ch2, skip first st. *1dc in next st. 2dc in next st. Repeat from * around. Last 2dc will be placed into the st previously left empty. Sl st into next dc to join round <36>
Round 4: Ch2, skip first st. *1dc in next st. 1dc in next st. 2dc in next st. Repeat from * around. Last 2dc will be placed into the st previously left empty. Sl st into next dc to join round <48>
Round 5: Ch2, skip first st. *1dc in next st. 1dc in next st. 1dc in next st. 2dc in next st. Repeat from * around. Last 2dc will be placed into the st previously left empty. Sl st into the next dc to join round <60>
This round should measure 6.25” when completed
Round 6: Ch2, 3dc in same st. *Skip 3st. 4dc in next st. Repeat from * around. Join round with sl st <15 shells>
Round 7: Sl st into next st, then sl st into the space between the next two posts (you will be in the center of the 4dc shell). Ch 2, 3dc in same space. *Skip next 3 sp. 4dc in next sp. Repeat from * around. Join round with sl st <15 shells>
Round 8: Sl st into next st, then sl st into the space between the next two posts. Ch2, 3dc in same space. *Skip next 3 sp. 4dc in next sp. Repeat from * around. Join round with sl st <15 shells>
Round 9: Sl st into next st, then sl st into the space between the next two posts. Ch2, 3dc in same space. *Skip next 3 sp. 4dc in next sp. Repeat from * around. Join round with sl st <15 shells>
Round 10: Sl st into next st, then sl st into the space between the next two posts. Ch2, 3dc in same space. *Skip next 3 sp. 4dc in next sp. Repeat from * around. Join round with sl st <15 shells>
Round 11: Sl st into next st, then sl st into the space between the next two posts. Ch2, 3dc in same space. *Skip next 3 sp. 4dc in next sp. Repeat from * around. Join round with sl st <15 shells>
Round 12: Sl st into next st, then sl st into the space between the next two posts. Ch2, 3dc in same space. *Skip next 3 sp. 4dc in next sp. Repeat from * around. Join round with sl st <15 shells>
Round 13: Change to border color. *1hdc into next three st. 1hdc in space between shells. Repeat from * around, join round with sl st <60>
Round 14: 1hdc in every st around <60>
Round 15: Change back to hat color. Ch2, skip next st. *2dc in each of next 9 st. 3dc in 10th sp. Repeat from * around. Last 3dc will be placed into the space previously skipped. Sl st into the next dc to join round <126>
Round 16: Ch2, skip next st, 1dc in each st around. Last dc will be placed into the sp previously skipped, sl st into the next dc to join round <126>
Round 17: Sl st around entire hat in back loops only. Fasten off and weave in all ends
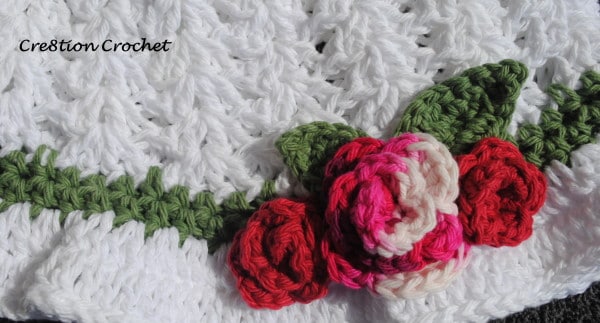
Add appliques of your choice, I used the following:
Rosettes – 1 medium and 2 small
Leaves – medium and small fat bottom leaves, 1 each
Don’t miss the toddler version of the Shell Stitch Spring or Easter Hat with Spring Blossoms


