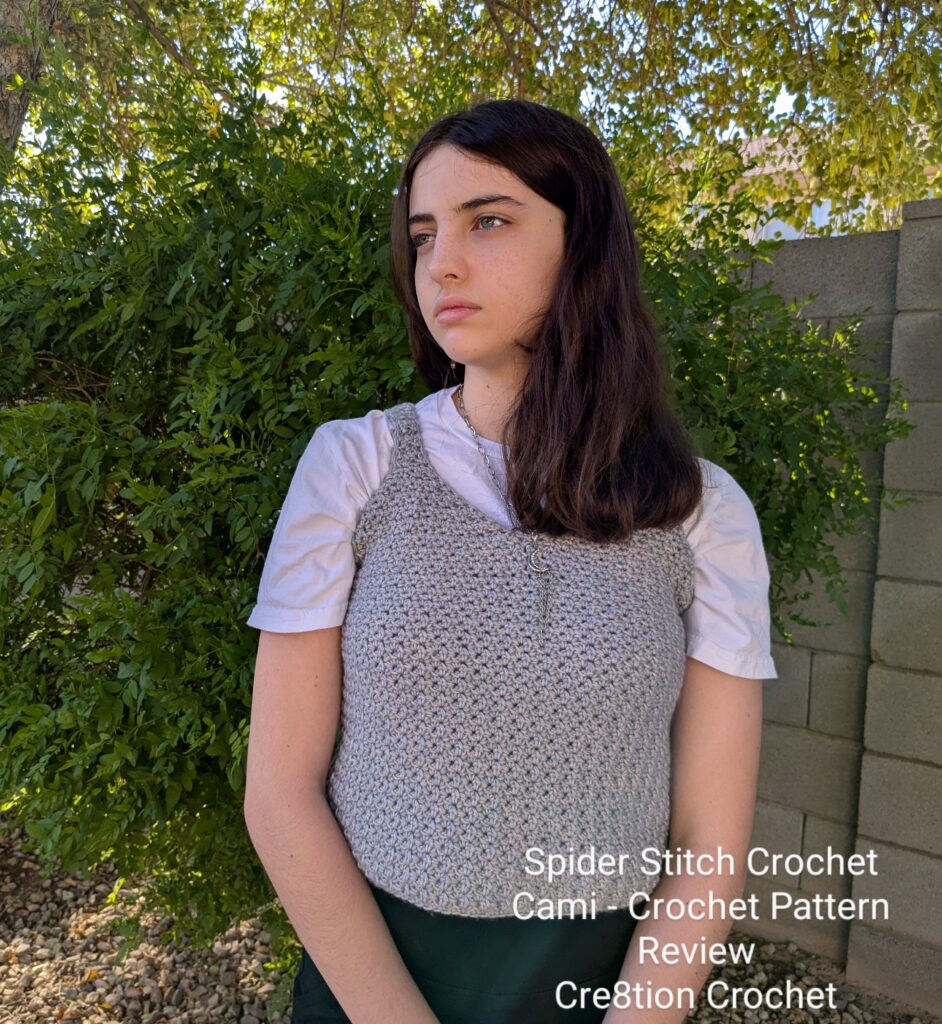
This is a crochet pattern review of the Spider Stitch Crochet Cami designed by Katie Clary for Salty Pearl Crochet. Review done by Kami Jones for Cre8tion Crochet.
This post contains affiliate links for Amazon and WeCrochet. If you make a purchase by clicking on them, I make a small commission at no extra cost to you. Thanks for your support!
Find the crochet pattern review below, or click here to purchase the pattern from Ravelry!
Hi! This is Kami. Be sure to come join me over on Instagram and say Hi.
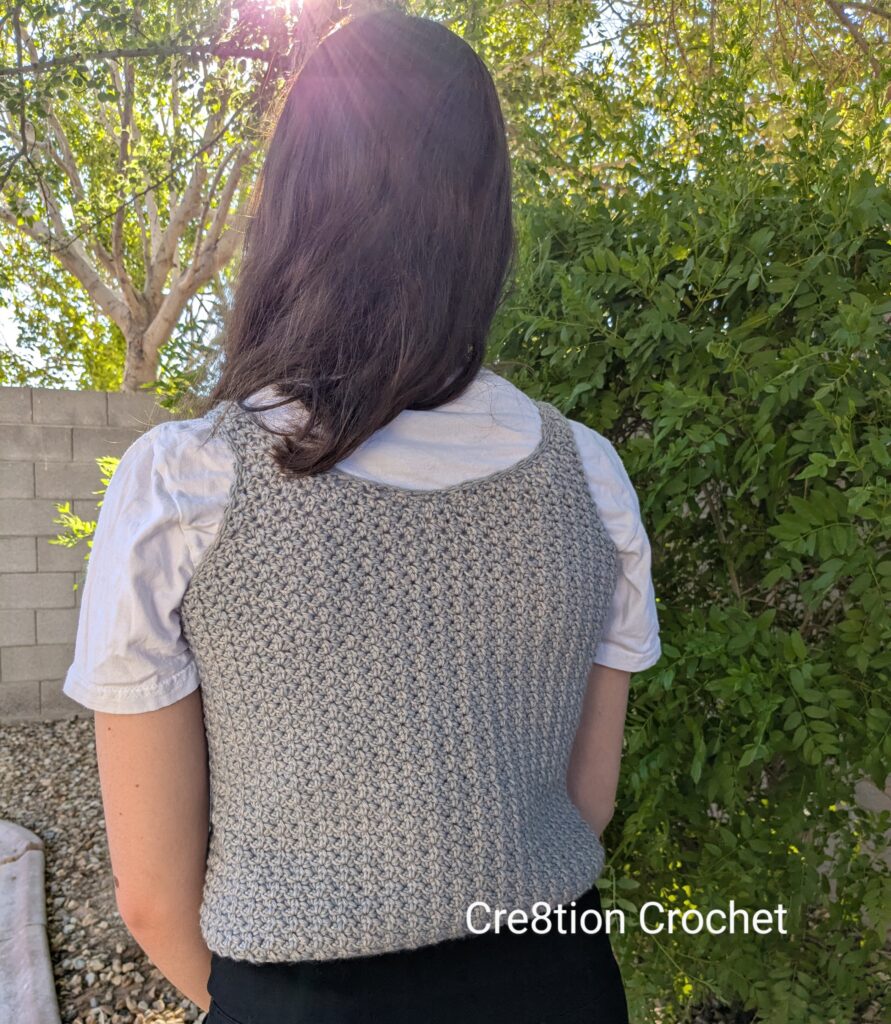
Looking for a quick garment pattern? This Spider Stitch Crochet Cami pattern from Salty Pearl Crochet may be just what you are looking for. Many basic tops are just a couple square panels that are sewn together creating a very boxy look. While this pattern still uses two panels, shaping is added for a better fit giving you have a top that looks more like the ones you buy. Now because it’s more comfortable it is less likely to end up in the back of your closet. Because you are still making panels, this garment does require a little seaming, though it’s just four little seams. So no big deal, right?
I really appreciated that this top keeps it simple with just one stitch. So you don’t really have to concentrate much until the split for the bust and strap. This makes it so you can listen to TV or a podcast or deal with interruptions without getting lost.
What Materials Do You Need to Crochet a Spider Stitch Cami?
- 500 yards DK #3 yarn for a small size top – I used Soho Haze in Misty
- H8/5mm Crochet Hook
- Gauge Ruler (optional)
- Measuring Tape
- Scissors
- Stitch Markers
- Tapestry Needle
- Spider Stitch Crochet Cami, Paid Crochet Pattern from Salty Pearl Crochet on Ravelry
Material Notes:
The designer used CotLin, which is 70% cotton and 30% linen. Because I have not yet had an opportunity to use this yarn I’m not sure how mine compares. However I would still recommend cotton or a cotton blend for a summer top.
Since my daughter will likely wear hers more as a vest top year round, I wasn’t as concerned about the yarn content. Still I used a cotton blend. Soho Haze is 50% acrylic, 35% cotton and 15% polyester. Now if she wants, it can be worn sans layers in the spring. Unfortunately for my climate this yarn would not be good for a summer top. In fact I have yet to find a yarn that I would be comfortable here in the summer. This yarn is soft and very easy to work with. Ultimately I think it was a good choice for this project and it will likely hold up well. Additionally this yarn can be machine washed and dried and it is very affordable. But the downside is it isn’t very eco-friendly.
How Long Does it Take to Crochet a Spider Stitch Cami?
It took me around 10 hours to complete the small size of this top. However part of the time that I was making it I was also watching movies with my kids. So I figure if I had been concentrating on it solely I probably could have finished it in around 8 hours.
What Size is a Crocheted Spider Stitch Cami?
For my small top, the circumference is 33.5 inches. Length is 16 inches from the top of the strap to the bottom. Armhole depth is 6 inches.
Gauge:
Honestly, I didn’t do a gauge swatch for this pattern. I checked my width after a couple rows and chose to go down a hook size because it was too wide. However my gauge ended up being 7 repeats and 17 rows in spider stitch pattern. This is right on par for the width but the designer only had 13 rows. Additionally I made the length to fit my daughter the way we wanted it to fit. Ironically the number of rows to get the same fit I wanted was the same as the designer had for the pattern. So although I followed the pattern, it is shorter that it would have been if I had been on gauge.
All About Making the Spider Stitch Cami:
Overall I really enjoyed making this summer top. I feel like it is a great piece that will get worn often. However I made one slight change in the pattern. By now you may know how I feel about slip stitches. Conclusively they complete a project perfectly. They make a nice smooth edge and bring everything together. Otherwise reducing the stretch that you get from all projects. Just adding a slip stitch to the neck and armholes can extend the life of your garment. Which is what I did to complete this project.
Be sure to join me over on Instagram for more fun projects and inspiration.
Join one of our awesome Facebook groups to share your creations, and see what others are up to!
– Yarn Crafts & Coffee Community
– DIY Home On Rockwood Lane
– Alexandra Lane Lifestyle
Linked Up To…


Leave a Reply